Quick Answer: Junipers are among the most versatile bonsai subjects in the world, naturally suited to informal upright, slanting, cascade, literati, windswept, and forest styles. Beginners do best starting with informal upright (moyogi), slanting (shakan), or semi-cascade (han-kengai). Remember: junipers are strictly outdoor trees requiring full sun and genuine winter dormancy — keeping them inside is the fastest way to lose one.
Few trees reward the bonsai artist quite like juniper. The many bonsai styles for juniper range from tight, symmetrical formal uprights to dramatic, windswept compositions with bleached deadwood — and junipers handle them all with remarkable adaptability. That flexibility comes down to biology: roughly 50–70 Juniperus species grow across the Northern Hemisphere in nutrient-poor, rocky, well-drained soils, naturally developing the gnarled trunks, sparse foliage, and weathered deadwood that bonsai artists spend years trying to recreate.
Which Bonsai Styles for Juniper Suit Beginners Best?
Top 3 Styles for Beginners
If you’re just starting out, these three styles offer the most forgiving learning curve with juniper material:
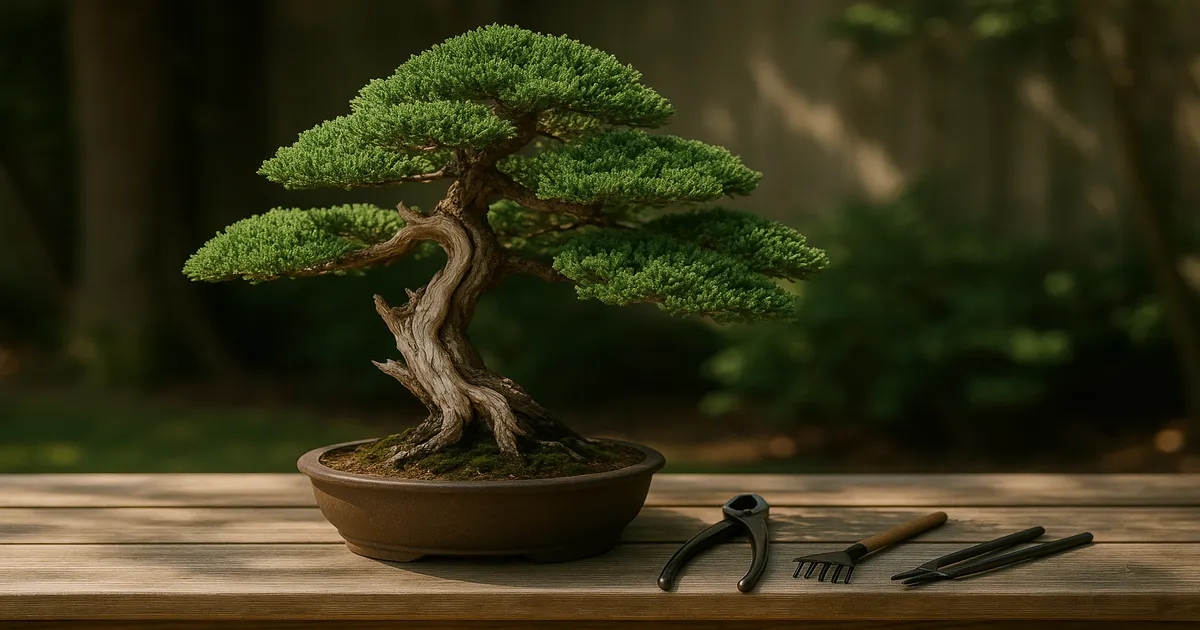
- Moyogi (Informal Upright) — The most widely practiced style for junipers. Gentle trunk movement, layered foliage pads, and room for imperfection make it ideal for beginners.
- Shakan (Slanting) — A natural extension of informal upright. The angled trunk suggests wind and struggle without requiring complex branch architecture.
- Han-Kengai (Semi-Cascade) — Low-growing varieties like J. procumbens ‘Nana’ practically grow into this style on their own.
At a Glance: Style Suitability by Juniper Variety
| Style | Shimpaku | J. procumbens ‘Nana’ | J. rigida |
|---|---|---|---|
| Formal Upright | ★★★☆☆ | ★★☆☆☆ | ★★★☆☆ |
| Informal Upright | ★★★★★ | ★★★★☆ | ★★★★★ |
| Slanting | ★★★★☆ | ★★★★☆ | ★★★★☆ |
| Cascade / Semi-Cascade | ★★★☆☆ | ★★★★★ | ★★★☆☆ |
| Literati | ★★★★★ | ★★☆☆☆ | ★★★★★ |
| Windswept | ★★★★☆ | ★★★☆☆ | ★★★★★ |
| Forest Planting | ★★★★☆ | ★★★★☆ | ★★★★☆ |
Juniper Varieties and Growth Habits
Best Juniper Varieties for Bonsai Styling
- Shimpaku (J. chinensis ‘Shimpaku’) — The gold standard of Japanese bonsai tradition. Soft, scale-like foliage, strong back-budding, and a natural affinity for deadwood work.
- J. procumbens ‘Nana’ — Forgiving, widely available, and inexpensive. The low-growing habit makes it perfect for cascade styles and an excellent first tree.
- J. rigida (Needle Juniper) — Prized in Japan for its sharp needle foliage and the dramatic deadwood it develops. More challenging but deeply rewarding.
- J. chinensis (Chinese Juniper) — The broader species group behind Shimpaku; a strong grower with excellent ramification potential.
- J. virginiana (Eastern Red Cedar) — Naturally columnar growth makes it one of the better options for formal upright in North America.
Foliage Types: Scale vs. Needle Varieties
Junipers produce two distinct foliage types. Scale-like foliage (Shimpaku, J. chinensis) forms soft, overlapping pads that are easy to shape into the clean, layered look associated with refined bonsai. Needle-like foliage (J. rigida) is sharper and more textural, lending itself to wilder, more naturalistic compositions — literati and windswept styles in particular.
Many species display both foliage types simultaneously, especially on juvenile growth. Avoid stressing the tree into producing excessive juvenile (needle) growth on a scale-foliage variety, as it’s difficult to reverse.
One key growth trait to understand: junipers are apically dominant, meaning the apex and outer tips grow most vigorously. Left unchecked, lower branches weaken and eventually die. Unlike pines, junipers produce no true terminal bud — growth extends from multiple shoot tips — which gives you enormous flexibility in choosing a pruning direction.
The Classical Bonsai Styles for Juniper
Chokkan (Formal Upright): Structure and Symmetry
Formal upright demands a perfectly straight trunk tapering from base to apex, with symmetrically balanced branches. It’s the most disciplined of all styles — and honestly, the least natural fit for most junipers, which tend toward movement and irregularity. J. virginiana, with its naturally columnar growth, is your best candidate. Achieving true formal upright from field-grown material requires years of careful wiring and selective pruning to eliminate any trunk deviation.
Moyogi (Informal Upright): The Most Popular Choice
This is where juniper truly shines. The trunk curves gently — never sharply — while the apex remains roughly over the base. Foliage pads sit at the outside of each curve, creating natural visual rhythm. Almost any juniper variety works here, and the style forgives minor imperfections in trunk line and branch placement better than any other. Start here if you’re new to styling junipers.
Shakan (Slanting Style): Capturing Wind and Movement
The trunk leans at 45–60° from vertical, with roots visually anchoring the windward side. It reads as a tree shaped by prevailing winds — a natural progression from informal upright. Shimpaku and J. procumbens ‘Nana’ both work well. The key challenge is ensuring the nebari (surface roots) extends convincingly on the windward side, so the composition doesn’t look like the tree simply fell over.
Kengai and Han-Kengai (Full and Semi-Cascade): Drama and Depth
In full cascade (kengai), the apex drops below the pot’s base. In semi-cascade, it falls at or just below the pot rim. J. procumbens ‘Nana’ and J. sabina are natural fits — their spreading, low-growing habits mean you’re working with the plant’s instincts rather than against them. Use tall, narrow pots to give the cascading branch room to fall dramatically. Display these styles on a shelf or stand so the cascade hangs freely.
Literati (Bunjin): Elegant Minimalism for Aged Specimens
Literati is defined by a tall, slender trunk with minimal branching — just a few sparse tufts of foliage near the apex. The style evokes isolation and age. Aged Shimpaku specimens with dramatic shari (trunk deadwood channels) and twisted movement are among the most prized literati bonsai in the world. The style demands raw material with genuine character; it cannot be faked with a young, straight-trunked tree.
Windswept (Fukinagashi): Expressing Elemental Force
Every branch — and the apex — sweeps to one side, as if driven by a constant gale. J. rigida excels here because its needle foliage and tendency toward dramatic deadwood reinforce the elemental narrative. Jin (deadwood branch stubs) pointing into the wind while live foliage streams away creates powerful visual tension. This is an advanced style; branch placement must be convincing, not arbitrary.
Multi-Trunk and Forest (Yose-ue) Plantings
Forest plantings use odd numbers of trees (5, 7, 9) in a wide, shallow pot. The tallest, thickest trunk anchors the composition; smaller trees recede into the background, creating depth. Shimpaku and J. procumbens ‘Nana’ work beautifully in mixed-size groupings. Choose a flat, unglazed tray in an earth tone — the pot should disappear visually, letting the forest read as a unified scene.
Deadwood Techniques: Jin and Shari on Juniper
Junipers are the premier species for deadwood work. No other common bonsai tree develops such naturally compelling dead features, and no other wood bleaches to quite the same luminous silver-white.
Jin is a deadwood branch stub created by stripping bark from a selected branch and carving the exposed wood to a natural point. Shari is a channel of stripped bark running along the trunk, exposing the heartwood and suggesting lightning damage or age-related die-back.
Creating Jin
- Select a branch to eliminate — leave a stub of the desired length rather than cutting flush.
- Score the bark at the stub’s base with a sharp knife, then use jin pliers to strip the bark in strips, working toward the tip.
- Carve the exposed wood to a natural taper — avoid blunt, uniform ends.
- Allow the wood to dry for several days before applying lime sulfur.
Carving Shari
Mark the shari line with a pencil before cutting. Score the bark boundary with a sharp carving knife, then remove the bark within the marked area. Always work with the wood grain to avoid tearing. A rotary carving tool allows more precise shaping and can create the natural hollows and ridges that make deadwood look genuinely aged.
Preserving Deadwood with Lime Sulfur
Dilute lime sulfur 1:10 with water and apply with an old paintbrush, working it into all crevices. Wear gloves — it stains skin and smells strongly of sulfur. The solution bleaches wood to a pale silver-white, hardens the surface, and inhibits fungal decay. Reapply every spring. Keep lime sulfur off live bark and foliage; if contact occurs, rinse immediately with water.
Pruning, Wiring, and Soil
Maintenance Pruning: Keeping Foliage Pads Compact
Trim shoots that extend beyond the pad’s outline, cutting back to a lateral pointing in the desired direction. Always use scissors — never pinch and twist like you would a pine. Twisting tears shoot tips and causes persistent browning. A good pair of bonsai scissors makes clean cuts that heal quickly and keep foliage pads looking tidy.
Structural Pruning: Building the Branch Framework
Heavy structural work belongs in early spring (just before bud swell) or late autumn after the tree hardens off. Use sharp concave cutters to create slightly hollow cuts that heal flush. Apply cut paste to any wound over 3–4 mm.
Remove: branches crossing the trunk front, downward-growing branches (unless building a cascade), branches pointing directly at the viewer, and bar branches (two branches at the same height on the same plane).
Keep: branches that create triangular negative space, branches with natural movement and taper, and the first branch — positioned one-third up the trunk and angled toward the viewer at roughly 45°.
Seasonal Pruning Calendar
| Season | Action |
|---|---|
| Early spring (Feb–Mar) | Heavy structural pruning; repotting if needed |
| Spring–early summer (Mar–Jun) | Active maintenance trimming; pinch extending shoots |
| Late summer (August) | Light trimming only |
| After mid-August | No significant pruning — new growth won’t harden before frost |
| Late autumn (Oct–Nov) | Secondary structural pruning window |
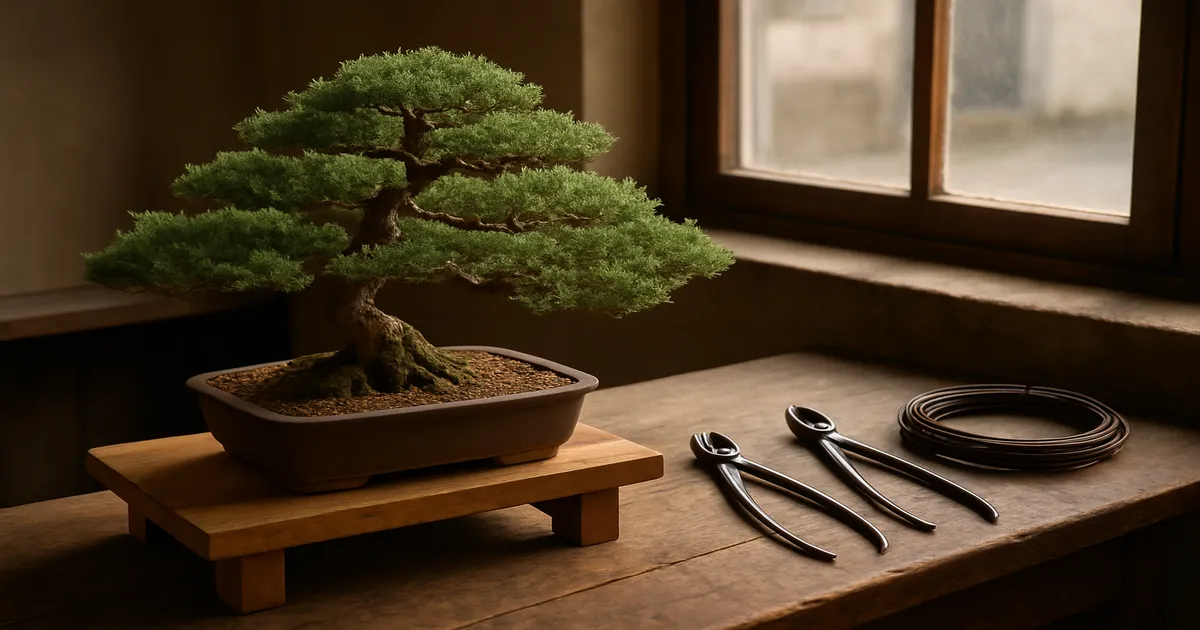
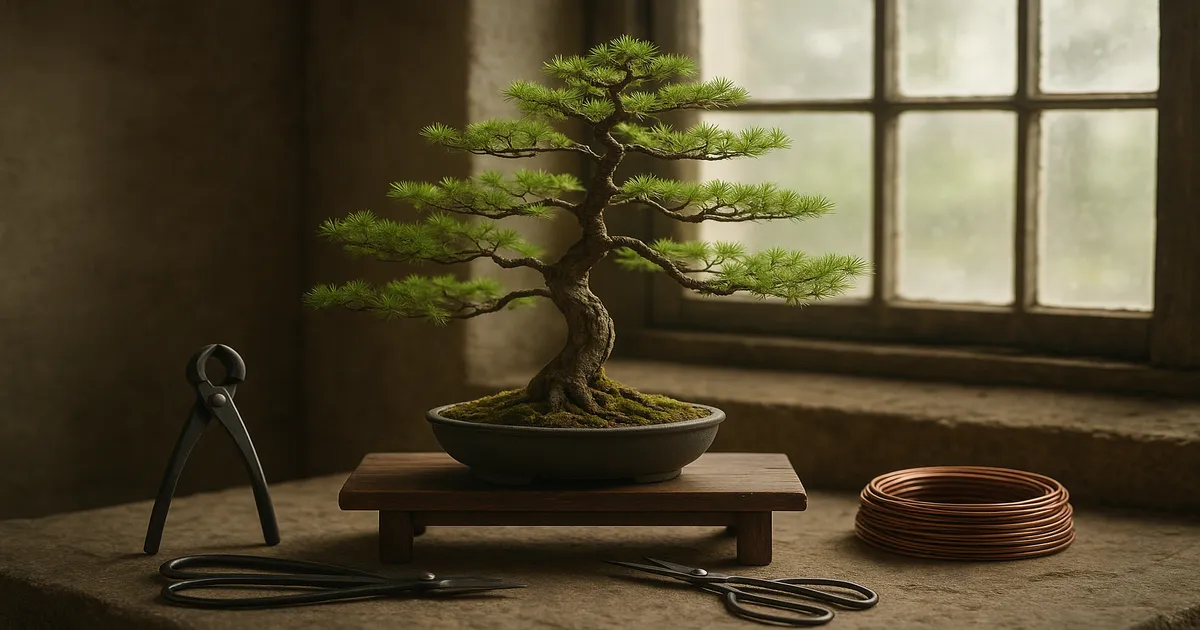
Wiring: Timing, Gauge, and Technique
Late autumn through early spring is the best wiring window. The bark is less active, wire is less likely to cut in quickly, and the bare branch structure is easier to assess. Avoid wiring during the spring flush (March–May) — growth is rapid and wire can bite into bark within weeks.
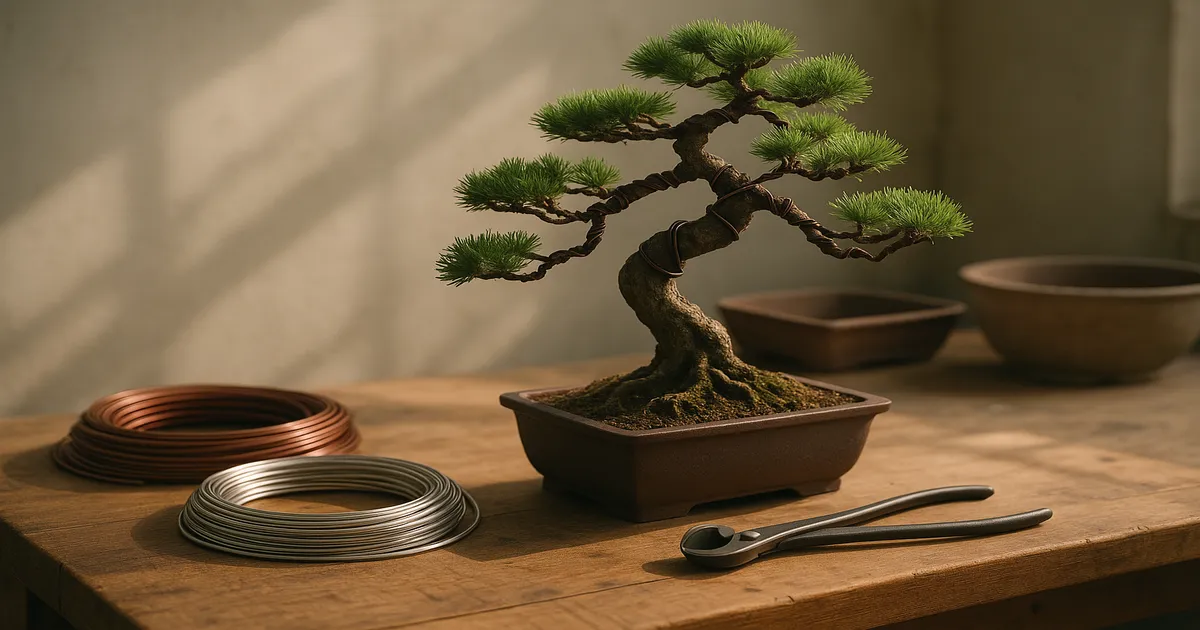
Anodized aluminum wire is the right choice for junipers. It’s softer than copper, kinder to the bark, and easy to manipulate without specialist tools. Use the one-third rule: wire diameter should be roughly one-third the branch thickness.
- 1.0–1.5 mm — Fine secondary and tertiary branches
- 2.0–2.5 mm — Primary branches and medium secondary branches
- 3.0–4.0 mm — Heavy primary branches or trunk shaping
Apply wire at a 45° angle to the branch axis — too steep and it slips; too shallow and it provides no holding force. Junipers set their shape slowly, so expect wire to stay on for 3–12 months. Check every 4–6 weeks during the growing season and remove at the first sign of embedding. Always cut wire off in small segments — never unwind, which risks snapping the branch.
Soil, Watering, and Repotting
The standard mix is 1:1:1 akadama, pumice, and lava rock using 3–6 mm particle size. This delivers drainage, aeration, and just enough moisture retention for healthy roots. In hot, dry climates, shift to 40–50% akadama. In humid or rainy climates, drop akadama to 20–25% and increase pumice and lava rock. Never use standard potting soil or peat-based mixes — they hold too much water and suffocate roots.
Water when the top 1–2 cm of soil approaches dryness. Insert a wooden chopstick 2–3 cm into the soil; if it comes out damp, wait. When you do water, water thoroughly until it flows freely from the drainage holes. During active growth in warm weather that often means daily; during dormancy, every one to three weeks is usually sufficient.
Repot young trees (under 10 years in training) every 1–2 years; mature specimens every 3–5 years. The best time is late February through April, just as buds begin to swell. Remove no more than one-third of the root mass per session, targeting coarse, thickened roots and circling roots while preserving fine feeder roots. After repotting, keep the tree in semi-shade for 3–4 weeks and hold off fertilizing for 4–6 weeks.
Common Problems When Styling Juniper Bonsai
Foliage Browning: Overwatering vs. Underwatering
| Symptom | Likely Cause |
|---|---|
| Yellowing/browning from the inside out | Overwatering or root rot |
| Browning from the tips inward | Underwatering or heat stress |
| Sudden total browning | Severe root damage (rot or freeze) |
| Dull, grayish foliage | Mild drought stress |
Pests: Spider Mites, Scale, and Aphids
Spider mites thrive in hot, dry conditions — look for fine webbing and stippled, bronzed foliage. Treat with neem oil or a miticide and increase ambient humidity. Juniper scale appears as white or gray crusty encrustations on bark; treat with horticultural oil in late winter. Aphids leave sticky honeydew residue on new growth; a strong blast of water or insecticidal soap handles most infestations quickly.
Wire Bite and Bark Scarring
Check wire every 4–6 weeks during the growing season. At the first sign of the wire beginning to embed, remove it immediately — deep wire cuts can leave permanent scars. If scarring does occur, the marks often fade over several growing seasons as the bark thickens, but deep cuts may remain visible indefinitely. Prevention is the only reliable cure.
Frequently Asked Questions
Can juniper bonsai be kept indoors? No. Junipers are outdoor trees that require full sun (at least 6 hours of direct sunlight daily) and genuine winter dormancy with temperatures between roughly 25°F and 45°F (−4°C to 7°C). Keeping a juniper indoors — even near a bright window — leads to progressive decline and usually death within a year or two.
When is the best time to style a juniper bonsai? Light wiring and maintenance pruning can happen almost any time the tree is healthy, but the optimal window for structural work is late autumn through early spring. Avoid heavy pruning or wiring during the spring growth flush (March–May) and after mid-August, when new growth won’t have time to harden before frost.
How do I choose the right bonsai style for my juniper? Let the raw material guide you. Look at the trunk’s natural movement, the angle of the nebari, and the existing branch structure before imposing a style. A trunk with strong natural lean suggests slanting or windswept; a low-growing, spreading specimen points toward cascade. Forcing a style onto unsuitable material rarely produces convincing results.
Why is my juniper bonsai turning brown after styling? Some browning of interior foliage is normal after heavy pruning or wiring — junipers shed shaded interior growth regularly. If browning spreads to branch tips or affects large sections of the canopy, investigate watering (check for both overwatering and underwatering), root health, spider mites, and whether the tree is receiving enough direct sunlight.
How long does it take to develop a juniper bonsai into a refined style? Realistically, 5–10 years of consistent work to develop a well-ramified informal upright or slanting style from nursery stock. Literati and windswept styles that depend on aged trunk character can take decades — or require sourcing older raw material to begin with. Patience is not optional in bonsai.