Quick Answer: Bonsai wiring is the primary technique for repositioning branches and trunks — wrap wire at a 45-degree angle around a branch, then gently bend it into the desired position and hold it there until the wood sets. This guide covers wire selection, species-specific timing, step-by-step application, and troubleshooting. Download the free quick-reference PDF below (wire gauge chart, species timing calendar, and wiring checklist) to keep at your bench.
Whether you searched for a bonsai wiring techniques pdf free download or arrived here looking for practical guidance, you’re in the right place. This article covers wire types, gauges, species timing, and hands-on technique — with a free downloadable PDF to complement every section.
Bonsai Wiring Techniques: What You Need to Know
What Is Bonsai Wiring and Why Does It Matter?
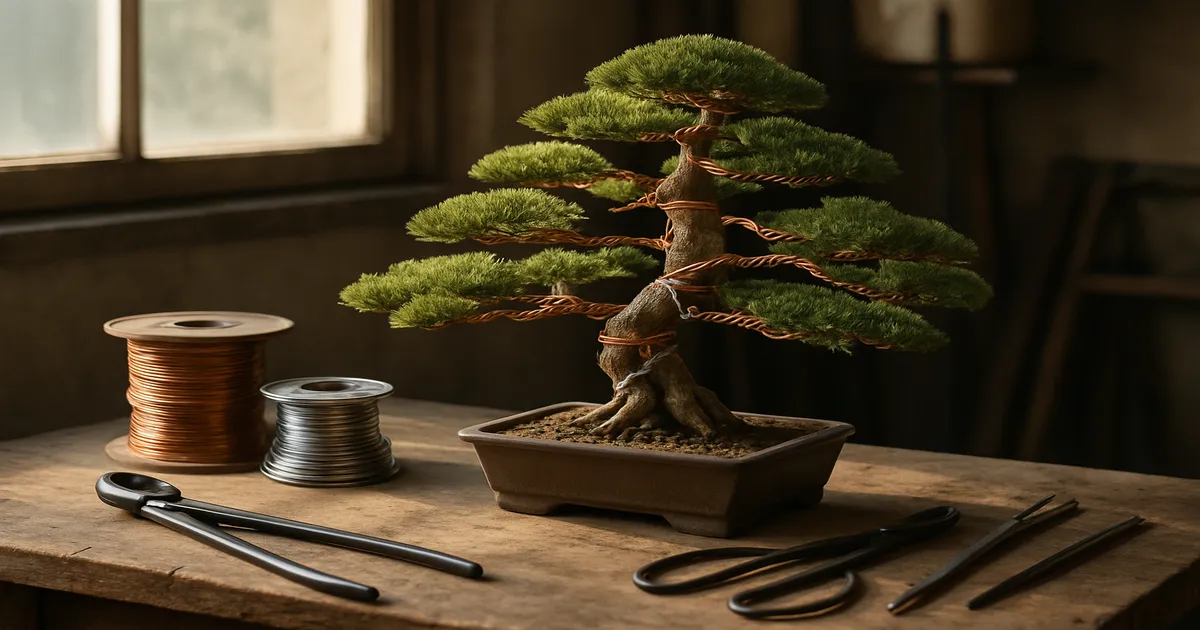
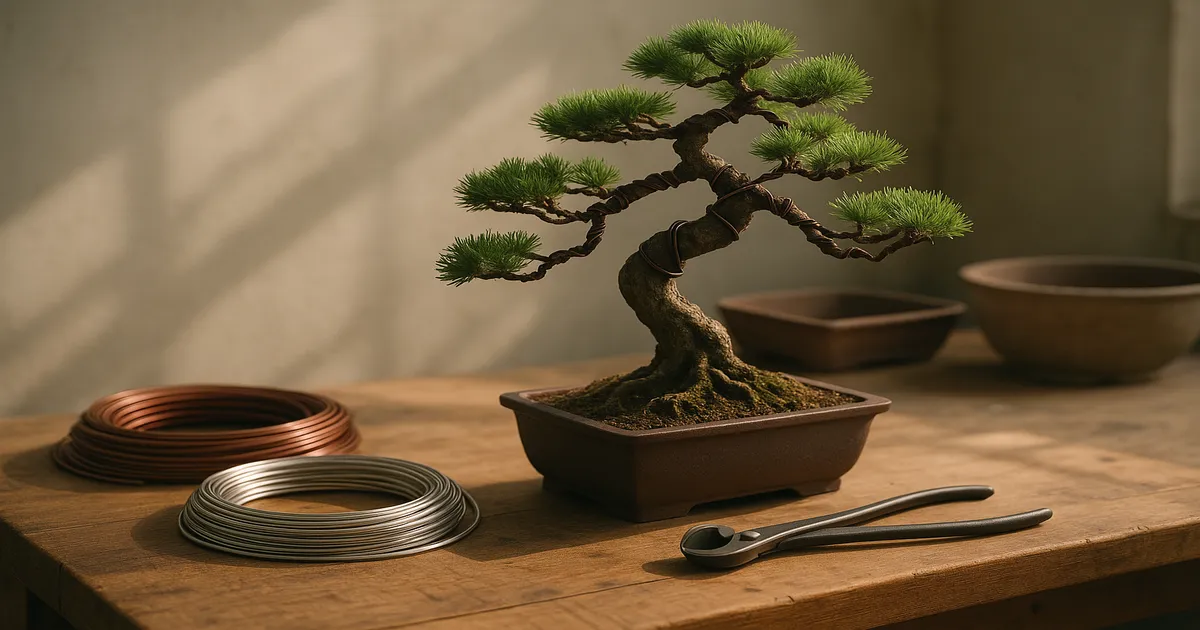
Wiring is how bonsai artists reshape branches and trunks over time. You wrap wire in a spiral around a branch at roughly 45 degrees, then carefully bend the branch into the position you want. The wood slowly “sets” as it grows, and once the shape holds, you remove the wire.
No other technique gives you the same level of precise, three-dimensional control over branch placement. Pruning removes what you don’t want; wiring positions what you keep.
Download the Free Bonsai Wiring Quick-Reference PDF
The free PDF includes:
- Wire gauge chart matched to branch diameter
- Species timing calendar showing optimal wiring windows
- Step-by-step wiring checklist for bench use
Choosing the Right Wire: Types, Gauges, and Materials
Aluminum Wire vs. Copper Wire
Aluminum wire is softer, lighter, and far more forgiving — ideal for beginners and for deciduous species with delicate bark. It’s easy to handle, widely available, and won’t damage bark as quickly if your wrapping angle is slightly off.
Annealed copper wire is roughly three times stronger than aluminum at the same diameter, so you can use a thinner gauge for the same holding power. It’s the professional’s choice for conifers and thick structural branches, but it’s stiffer to work with and unforgiving on thin bark.
Start with aluminum. Move to copper once you’re comfortable with the wrapping motion.
How to Select the Correct Wire Gauge
The general rule: wire diameter should be approximately one-third the diameter of the branch being wired. A 6mm branch needs 2mm wire. A pencil-thin 3mm twig needs 1mm wire.
If the branch springs back after bending, your wire is too light. If you’re struggling to wrap it cleanly, the gauge may be too heavy — though more often the issue is technique, not the wire itself.
Wire Gauge Reference Chart
| Branch Diameter | Recommended Aluminum | Recommended Copper |
|---|---|---|
| 1–2mm (very fine twigs) | 1mm | 0.8mm |
| 3–4mm (fine branches) | 1.5mm | 1mm |
| 5–7mm (medium branches) | 2–2.5mm | 1.5mm |
| 8–12mm (structural branches) | 3–4mm | 2–2.5mm |
| 13mm+ (thick branches/trunk) | 5–6mm | 3–4mm |
This chart is included in the free PDF download.
Where to Buy Bonsai Wire
Dedicated bonsai wire — sold in 50–500g rolls by gauge — is available from suppliers like Bonsai Empire, Eastern Leaf, and Stone Lantern. A good starting set covers 1mm, 1.5mm, 2mm, and 2.5mm aluminum.
In a pinch, soft (annealed) aluminum electrical wire from a hardware store works. Just avoid the stiff, springy type used in house wiring — it won’t hold a clean spiral.
Species-by-Species Wiring Guide
Conifers: Japanese Black Pine, Shimpaku Juniper, and Sierra Juniper
Shimpaku Juniper is the single best species for learning to wire. Its young branches are remarkably flexible, it scars slowly, and it tolerates repositioning well. If you’re new to wiring, start here.
Japanese Black Pine has a long, forgiving wiring window. Branches hold wire for months without rapid scarring. Primary structural wiring is typically done in late fall after decandling, once the new growth has hardened off.
Sierra Juniper suits dramatic bends and deadwood styling (jin and shari). Its naturally gnarled habit means wiring refines existing character rather than creating it from scratch.
Deciduous Trees: Japanese Maple, Trident Maple, and Chinese Elm
Japanese Maple is the high-stakes species. Bark can scar within days during the growing season — not weeks. Wire in late winter while the tree is fully dormant, check every week once growth begins, and remove wire at the first sign of indentation.
Trident Maple is more forgiving and faster-growing, making it a better candidate for wiring practice among deciduous species. Still monitor weekly during the growing season.
Chinese Elm is an excellent beginner choice. It responds well to wiring, recovers quickly from small mistakes, and its fine ramification rewards patient work on secondary and tertiary branches.
Tropical and Indoor Species: Ficus, Fukien Tea, and Jade Plant
Ficus branches are flexible when young but lignify quickly. Wire promptly after a branch reaches the right thickness — waiting too long means it won’t move without cracking.
Fukien Tea has brittle branches. Use a lighter gauge than you think you need, wrap carefully, and avoid sharp bends. Slow, gentle repositioning over multiple sessions is always safer than one aggressive bend.
Jade Plant is a special case. Branches snap easily because they’re succulent and water-heavy. Use aluminum wire only, bend incrementally over several days or weeks, and never force a sharp angle in a single session.
Seasonal Wiring Calendar
| Species Group | Best Wiring Window | Avoid |
|---|---|---|
| Conifers (Pines) | Late fall to early winter | Spring (high resin flow) |
| Conifers (Junipers) | Spring or fall | Midsummer heat above 95°F / 35°C |
| Deciduous | Late winter (dormant) | Active growing season without weekly monitoring |
| Tropical/Indoor | Any time during active growth | Below 55°F / 13°C |
This calendar is included in the free PDF download.
Step-by-Step Bonsai Wiring Techniques
Preparing the Tree
Water your tree thoroughly the day before a wiring session. Slightly hydrated branches are more flexible and less prone to snapping. Never wire a drought-stressed tree.
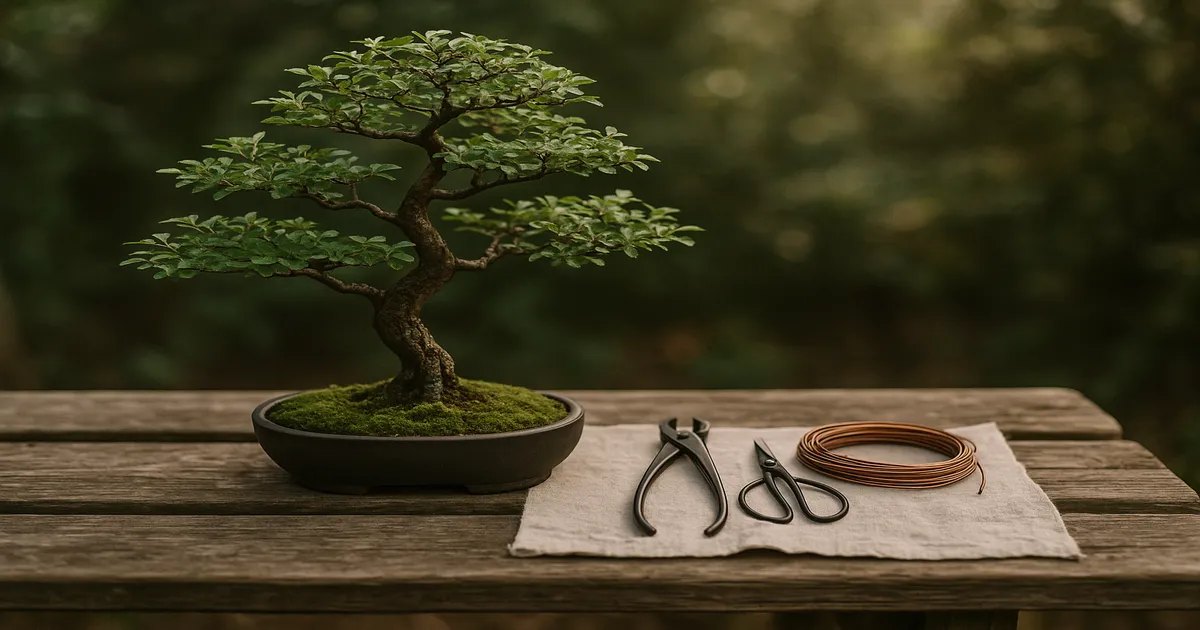
Tools you’ll need:
- Bonsai wire cutters with a narrow nose
- Multiple wire gauges (1mm, 1.5mm, 2mm, and 2.5mm aluminum as a minimum)
- A clean, stable work surface at bench height
The Double-Wire (Anchor) Method
The most efficient approach is to wire two branches of similar thickness with a single length of wire. Anchor the wire by wrapping it once or twice around the trunk or a primary branch between the two target branches, then spiral outward along each branch simultaneously.
This anchor point is critical. Without it, the wire has nothing to work against and will slide the moment you apply bending pressure.
Applying Wire at the Correct 45-Degree Angle
Wrap the wire in a spiral at approximately 45 degrees to the branch axis. Too shallow — under 30 degrees — and the wire slips when you bend. Too steep — over 60 degrees — and you risk bark damage and lose holding power.
Keep the wire snug against the bark, not biting into it, but with no gaps. Loose wire is useless; it won’t hold the bend.
Bending Branches Safely
Place both thumbs on the outside of the bend for support, with your fingers wrapped around the branch on the inside. Apply slow, steady pressure — never a sharp jerk. You should feel the branch move gradually, not hear a crack.
Common wiring mistakes:
| Mistake | Consequence | Fix |
|---|---|---|
| Wire crossing itself | Pressure points that bite into bark | Remove and rewire cleanly |
| Wire too tight on application | Immediate bark damage | Rewire with slightly looser tension |
| Leaving wire on too long | Wire bite, permanent scarring | Set weekly calendar reminders |
| Wiring in heat above 95°F / 35°C | Metal burns cambium through bark | Wire in early morning during summer |
Wiring Fine Apex Branches
Use 1mm or 0.8mm copper wire for fine apex branches. The same 45-degree rule applies, but precision matters more — there’s less bark to protect and less room for error. Work from the trunk outward: coarser structural branches first, finer branches last. That way you’re not disturbing already-wired fine work while handling the heavier branches.
How Long to Leave Wire On
- Conifers: 3–6 months; check monthly
- Deciduous (dormant-wired): Remove before bud break, or within 4–6 weeks of growth starting
- Tropicals: 2–4 months depending on growth rate; check every 2–3 weeks
To test whether a branch has set, carefully loosen one coil and see if the branch holds its position. If it does, the wire can come off.
Soil and Care During the Wiring Period
Soil Composition
A tree under the stress of repositioning needs to be in peak health. Compacted, poorly draining soil creates root stress that compounds the stress of wiring — a combination that can cause dieback in weaker trees.
Recommended mixes:
- Conifers: 60% akadama, 20% pumice, 20% lava rock
- Deciduous: 50% akadama, 25% pumice, 25% lava rock
- Tropicals: 40% akadama, 30% pumice, 20% lava rock, 10% coarse perlite
Budget alternative: 50% decomposed granite, 30% coarse perlite, 20% calcined clay (such as Turface MVP). This performs at roughly 70–80% of an akadama-based mix at a fraction of the cost.
Watering and Light
Don’t change your watering routine because wire is on the tree. Water when the top ¼–½ inch of soil begins to dry, same as always. The one addition: water the day before any wiring session to maximize branch flexibility.
Keep wired trees in their normal light position. Moving a stressed tree into shade to “help it recover” usually causes more harm than good unless the tree is genuinely showing signs of distress.
Avoid wiring sessions when temperatures exceed 95°F (35°C). Metal wire absorbs heat rapidly and can burn cambium tissue through the bark. Wire in the early morning during summer months.
Pruning: The Partner Technique to Wiring
When to Prune Before vs. After Wiring
Structural pruning almost always comes first. Remove branches you’ve decided not to keep before you wire the ones you’re keeping — otherwise you’ll wire around branches only to cut them out later, wasting time and risking accidental damage to your wired work.
Minor refinement pruning — shortening shoots, removing misdirected buds — can happen alongside or after wiring.
Structural Branch Selection
Classic branch structure principles:
- First branch: Lowest and longest; roughly one-third up the trunk height; extends left or right
- Second branch: Opposite side, slightly higher
- Third branch: Angles toward the viewer for depth
- Back branches: Essential — without them the tree looks flat from every angle
- Remove: Parallel branches at the same height, branches crossing the trunk, any branch causing reverse taper
Concave Cutters and Wound Sealant
Remove branches with concave cutters to create a slightly hollowed cut that heals flush with the trunk rather than leaving a knob. Apply cut paste to any cut larger than ¼ inch in diameter. Bonsai-specific pastes like Kiyonal or Lac Balsam seal the wound without blocking callus formation — standard petroleum-based wound paint inhibits healing and should be avoided.
Troubleshooting Bonsai Wiring Problems
Wire Bite: How to Spot It and Remove Wire Safely
Wire bite — wire cutting into bark as the branch grows — is the most serious common wiring mistake. Check wired branches weekly during the growing season. The moment you see wire beginning to sink into the bark, remove it.
Always cut wire off in sections using wire cutters. Never unwind wire from a growing branch — the rotational force can snap the branch or strip bark. Cut every second or third coil, then lift the pieces away.
Branch Snapped During Wiring
If a branch snaps but doesn’t fully break, splint it immediately: align the break, wrap it firmly with grafting tape or electrical tape, and support it in position. Many partially broken branches heal if caught quickly.
If the break is complete, consider converting it to a jin (deadwood element). A jin on a lower branch can add character and apparent age to the design — what looks like a disaster can become a feature.
Wire Not Holding: Branches Springing Back
Springback usually means one of three things: the wire gauge is too light, the wire was applied at too shallow an angle, or the branch isn’t mature enough to set yet. Try the next gauge up, re-wrap at a steeper angle, or accept that the branch needs another season of growth before it can be positioned.
Bark Damage and Scarring
Light wire marks on most conifers will fade over time as the bark develops. Marks on Japanese Maple or Fukien Tea may be permanent. Prevention is the only real treatment — monitor diligently and remove wire before it bites.
Frequently Asked Questions About Bonsai Wiring Techniques
What is the best wire for bonsai beginners — aluminum or copper?
Aluminum wire is the clear choice. It’s softer, easier to wrap, and far more forgiving if your angle or tension isn’t perfect. Start with 1mm, 1.5mm, 2mm, and 2.5mm aluminum — that range covers the vast majority of beginner wiring situations. Graduate to copper once you’re comfortable with the technique.
How long should bonsai wire stay on before removal?
It depends on the species and season. Conifers can hold wire for 3–6 months; check monthly. Deciduous trees wired in dormancy should be checked as soon as growth begins in spring — remove within 4–6 weeks of bud break at the latest. Tropical species typically need 2–4 months. The branch is ready when it holds its position after you loosen a test coil.
Can you wire a bonsai tree at any time of year?
Technically yes, but timing matters enormously. Deciduous trees are best wired in late winter when the branch structure is fully visible and growth hasn’t started. Conifers are typically wired in late fall or early winter. Tropicals can be wired year-round during active growth, provided temperatures stay above 55°F (13°C). Avoid wiring any species in extreme heat above 95°F (35°C).
What should I do if bonsai wire cuts into the bark?
Remove it immediately — don’t wait. Use wire cutters to snip every second or third coil and lift the sections away. Never unwind wire from a growing branch. After removal, keep the tree in good health and avoid additional stress. Light scarring on conifers often fades; scarring on Japanese Maple or Fukien Tea may be permanent, which is why weekly checks during the growing season are non-negotiable.
Where can I find a bonsai wiring techniques pdf free download?
The free PDF at the top of this article includes a wire gauge chart, a species timing calendar, and a step-by-step wiring checklist formatted for bench use. Download it once and keep it printed at your workspace — it covers the most common reference questions without needing to return to a screen mid-session.