Quick Answer: Your juniper’s survival odds come down to three things above everything else — whether it’s living outdoors, whether you’re watering correctly, and whether its soil drains fast enough. A tree that’s been indoors for a few weeks can usually recover if you act now; one that’s been inside for months with soggy soil is a much harder case. Read on to diagnose exactly where yours stands and what to do about it.
If you’re asking what are my odds this juniper survives, you’re probably staring at brown foliage and second-guessing every decision you’ve made. The good news: junipers are remarkably tough trees. The bad news: they die in predictable ways, and most of those ways are entirely preventable. This guide walks you through an honest diagnosis — and the specific steps that give your tree the best shot.
What Are My Odds This Juniper Survives? A Situation-by-Situation Breakdown
The Three Factors That Matter Most
- Placement — Is it outdoors in full sun, or has it been sitting in your living room?
- Watering accuracy — Are you checking soil moisture before you water, or following a fixed schedule?
- Soil drainage — Does water flow freely through the pot, or does it pool and linger?
Get all three right and junipers are genuinely forgiving trees. Get even one badly wrong and you’re fighting uphill.
Survival Odds at a Glance
| Situation | Rough Survival Odds | Priority Action |
|---|---|---|
| Outdoors, healthy foliage, good drainage | Excellent | Maintain current care |
| Indoors 2–4 weeks, foliage still green | Good if moved outside immediately | Move outside today |
| Indoors 2–6 months, some browning | Fair — act fast | Move outside, check roots |
| Overwatered but caught early, roots firm | Good | Improve drainage, reduce watering |
| Overwatered with mushy roots and rot smell | Poor to fair | Root inspection and triage |
| Recently repotted, placed in shade | Good | Follow proper aftercare |
| Uniform brown foliage, indoors all winter | Poor — but worth testing | Scratch test branches first |
Know Your Juniper: Species and Resilience
Common Varieties Used in Bonsai
The Juniperus genus spans 50–70 species across the Northern Hemisphere, from Arctic tundra to Mediterranean coastlines. That range is exactly why junipers became the world’s most widely cultivated bonsai species — they’re built for adversity.
The varieties you’ll encounter most often:
- Shimpaku (J. chinensis ‘Shimpaku’) — the most prized in Japanese tradition; soft scale foliage; compact, elegant growth
- Chinese Juniper (J. chinensis) — forgiving, widely available, excellent for beginners
- Japanese Garden Juniper (J. procumbens ‘Nana’) — prostrate habit, dense foliage pads, very popular in the West
- Itoigawa Shimpaku — premium cultivar with ultra-fine foliage; highly sought after
- Eastern Red Cedar (J. virginiana) — underutilized in bonsai but cold-hardy down to Zone 2
- Rocky Mountain Juniper (J. scopulorum) — excellent for collected specimens (yamadori)
For beginners, Chinese Juniper and J. procumbens ‘Nana’ are the most forgiving choices.
Why Species Identity Affects Your Odds
Different species carry different cold hardiness and stress tolerance. J. virginiana laughs at a Zone 4 winter; J. procumbens ‘Nana’ handles it but needs more root protection in a shallow pot. Knowing your species helps you calibrate how worried to be.
One more thing worth understanding: junipers have a unique vascular system that allows living veins of bark to sustain entire branches even when most of the trunk is deadwood. Wild specimens of Juniperus occidentalis have been documented at over 1,600 years old. A tree with some dead wood and partially brown foliage isn’t necessarily a lost cause — as long as there’s a live vein connecting roots to foliage, recovery is possible.
The #1 Killer: Indoor Placement
Why Junipers Cannot Live Indoors
This is not a gray area. Junipers are outdoor bonsai, full stop. Indoor placement is the single leading cause of death among beginner-kept junipers, often triggered by nursery labeling that suggests otherwise.
A typical indoor window provides 500–2,000 lux on a good day. Your juniper needs 10,000–50,000+ lux — the kind of intensity only direct outdoor sun delivers. Even a bright south-facing window falls catastrophically short. The minimum is 4–6 hours of direct sun daily; 6–8+ hours is optimal.
The decline isn’t always dramatic at first. Foliage elongates and “reaches,” branch structure weakens, and the tree becomes increasingly vulnerable to pests. Full decline typically takes 3–18 months depending on the tree’s health reserves when it came inside. By the time foliage is uniformly brown, the tree has been struggling for a long time.
How to Move Your Juniper Outside Safely
Don’t throw it into full afternoon sun on a 90°F day — that’s sun shock, and it adds stress to an already weakened tree. Transition gradually:
- Start with 2–3 hours of morning sun for the first week
- Increase exposure by 1–2 hours every few days
- After 2–3 weeks, the tree can handle full outdoor placement
- Avoid direct midday sun during the hottest weeks until it has fully acclimated
Watering and Soil: Where Most Junipers Are Lost
Overwatering vs. Underwatering — How to Tell the Difference
The symptoms are distinct once you know what to look for.
Overwatering signs:
- Foliage yellows and browns from the inside out
- Foliage feels soft rather than firm
- Musty smell from the soil
- Roots appear brown, soft, and mushy when examined
- Soil stays wet 2–3+ days after watering in warm conditions
Underwatering signs:
- Browning starts at the tips and moves inward
- Foliage feels dry and crispy
- Soil pulls away from the pot edges
- Pot feels unusually light when lifted
The Correct Watering Technique
The golden rule: check the top ½ inch of soil before every watering. If it’s approaching dryness, water thoroughly. If it’s still moist, wait. Never follow a fixed schedule — conditions change too much by season, weather, and pot size.
When you do water, soak the entire soil surface until water flows freely from every drainage hole, then let it drain completely. Never let the pot sit in a saucer of standing water.
Seasonal adjustments:
- Summer, full sun, hot climate: Once or even twice daily may be necessary
- Spring and fall, moderate conditions: Every 1–3 days typically
- Winter dormancy: Every 5–14 days; soil should be barely moist, not wet
Soil Mix: Why It’s Part of the Watering Equation
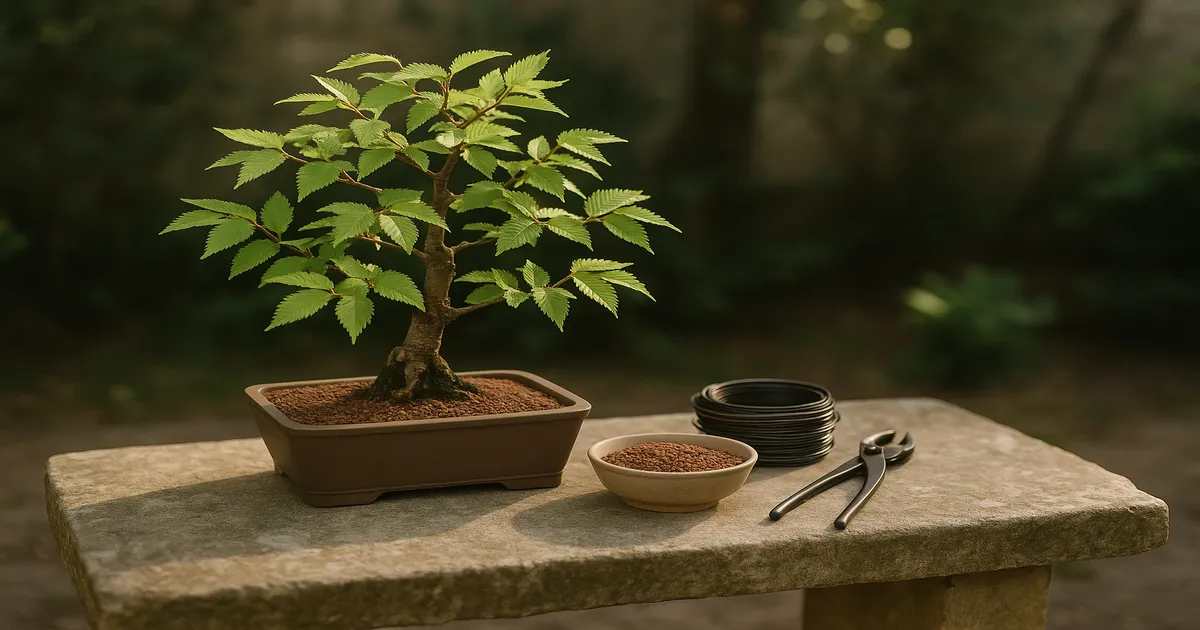
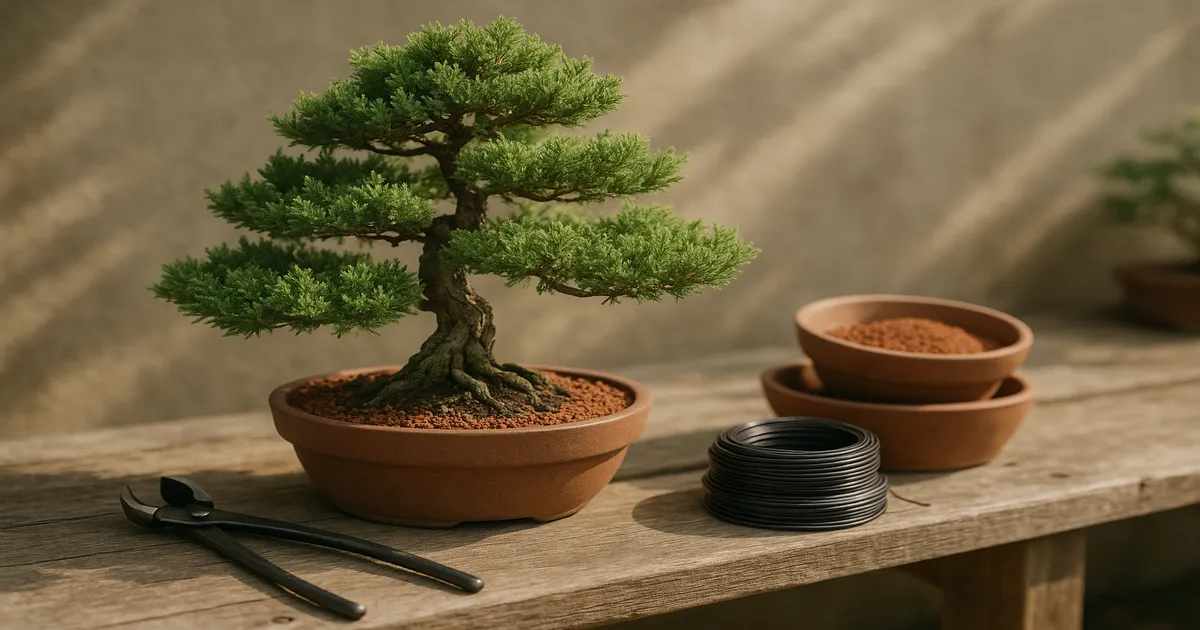
Standard potting soil retains too much moisture, compacts over time, and suffocates juniper roots. The correct mix is a 1:1:1 ratio of akadama, pumice, and lava rock — all at a particle size of roughly ⅛–3⁄16 inch (3–5mm). A quality pre-blended option saves time and guesswork. (Boon’s Mix)
Adjust for your climate: in hot, dry conditions, shift to 40–50% akadama for slightly better moisture retention. In humid or rainy climates, drop akadama to 20% and increase pumice and lava rock to 40% each.
Temperature, Hardiness, and Winter Survival
USDA Hardiness Zones for Common Species
| Species | USDA Zones | Cold Tolerance (in-ground) |
|---|---|---|
| J. chinensis | 4–9 | Down to -20°F (-29°C) |
| J. procumbens ‘Nana’ | 4–9 | Hardy; roots more vulnerable in containers |
| J. scopulorum | 3–7 | Very cold hardy |
| J. virginiana | 2–9 | Extremely cold hardy |
The Container Root Problem
The tree itself can handle serious cold. The roots in a pot are a different story. In-ground roots are insulated by surrounding soil; container roots are exposed on all sides and can freeze solid in a hard winter. That’s why a tree that would survive perfectly well planted in your yard can die in a pot at the same temperature.
Winter protection by climate zone:
- Zones 7–9: Keep outdoors year-round; minimal protection needed
- Zones 5–6: Protect the container from freeze-thaw cycles using an unheated garage, cold frame, or mulching around the pot
- Zones 3–4: Store in an unheated structure that stays above 15°F (-9°C); the tree needs cold but the pot must not freeze solid
The ideal winter storage temperature is 25–40°F (-4–4°C). Bringing a juniper into a heated house for winter feels kind — it isn’t. Warmth prevents dormancy, the tree keeps metabolizing without sufficient light, and it slowly burns through its energy reserves. This is a slow death sentence that often isn’t obvious until spring, when the tree fails to push new growth.
Pruning and Wiring Without Killing Your Tree
The One Pruning Rule That Keeps Junipers Alive
Never cut into bare wood. Junipers do not reliably back-bud from leafless branches, so if you remove all foliage from a branch, that branch will almost certainly die. Always leave some foliage on every branch you intend to keep.
Maintenance pinching — trimming extending shoots back to 2–3 scale-leaf clusters — is ongoing work throughout the growing season. Structural pruning means removing major branches to establish the tree’s primary design, and it requires more planning and better timing.
| Season | Appropriate Work |
|---|---|
| Early spring (bud swell) | Light structural pruning; begin maintenance pinching |
| Late spring | Active maintenance pinching; wiring |
| Summer | Light maintenance only; minimize stress |
| Early fall | Light structural pruning possible |
| Late fall/Winter | No pruning; tree is dormant |
Seal large cut wounds with a quality cut paste to prevent desiccation. For intentional deadwood (jin or shari), strip the bark and treat with lime sulfur annually to preserve and bleach the wood.
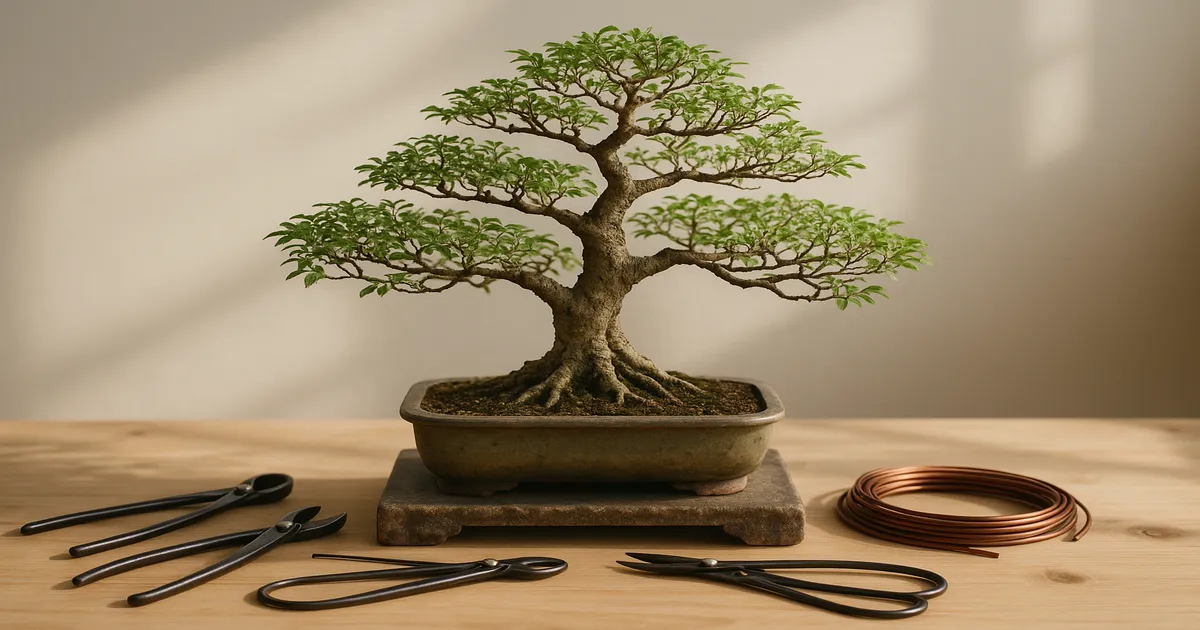
Wiring Basics
Use aluminum wire for most juniper work — it’s more forgiving than copper and easier to apply without damaging bark. Wire diameter should be roughly ⅓ the diameter of the branch. Apply at a consistent 45-degree angle, snug but not biting — you should be able to slide a fingernail underneath it.
Check your wire every 2–4 weeks during the growing season. Junipers grow fast enough in spring that wire can bite into bark within weeks, leaving permanent scars. When removing wire, always cut it into small segments with wire cutters — never unwind it from a set branch, as that reverses the bend and can snap the branch.
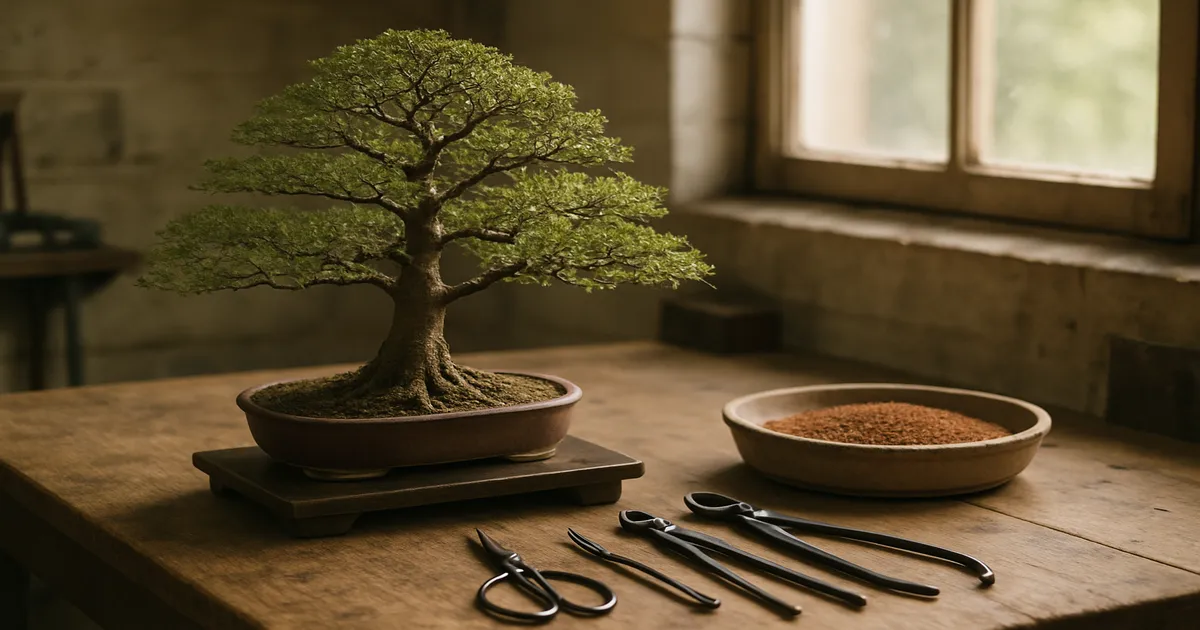
Repotting: When It Helps and When It Hurts
Repot when roots are circling the pot bottom, when water drains very slowly, or when the root mass has become a solid, pot-shaped block. Young trees in development need repotting every 2–3 years; mature, refined trees every 3–5 years.
Early spring — just as buds begin to swell but before significant new growth emerges — is the ideal window. A secondary window exists in late summer or early fall, at least 6–8 weeks before the first frost. Avoid midsummer repotting (heat compounds stress) and winter repotting (the tree can’t recover while dormant).
When pruning roots, never remove more than 30% of the root mass at one time. Preserve fine feeder roots, remove any dead or mushy roots entirely, and work efficiently — roots shouldn’t be exposed to air and sun for more than 15–20 minutes. After repotting, place the tree in a sheltered spot with bright indirect light for 2–4 weeks and water carefully; the reduced root mass can’t absorb as much, so the risk of overwatering temporarily increases.
Diagnosing a Struggling Juniper: What Are My Odds This Juniper Survives?
What the Browning Pattern Tells You
- Tips browning inward → underwatering or low humidity
- Inside foliage browning outward → overwatering or root rot
- Uniform browning across the whole tree → light deprivation or freeze damage
- Browning on one side only → wind exposure, reflected heat, or localized root damage
Is It Dead or Dormant? How to Check
Do the scratch test. Use your fingernail or a knife to lightly scratch the bark on a small branch. Green or white-green cambium underneath means the branch is alive; brown, dry tissue means that branch is dead. Test multiple branches — a tree with some dead branches but live ones elsewhere is still worth saving.
You can also try the bend test: a live branch bends slightly before snapping; a dead branch snaps crisply with no flexibility.
Triage Steps When Your Juniper Is in Crisis
- Move it outdoors — if it’s been inside, this is step one regardless of anything else
- Check soil moisture — determine if you’ve been overwatering or underwatering
- Inspect the roots — if overwatering is suspected, unpot and check for rot; remove mushy roots and repot into fresh, well-draining mix if necessary
- Adjust ongoing care — fix the watering cadence, confirm the soil mix, ensure adequate sun exposure
- Give it time — a recovering juniper won’t look better overnight; stable conditions over 4–8 weeks will tell you if it’s turning the corner
Frequently Asked Questions
Can a juniper bonsai recover from being kept indoors?
Yes, often — if you catch it before the decline becomes severe. Move it outside immediately, transitioning gradually to avoid sun shock, and reduce watering slightly while the roots recover. Trees that have been inside for a few weeks with still-green foliage have good odds. Trees that have been inside for months with significant browning need a careful assessment using the scratch test before you invest more effort.
How do I know if my juniper bonsai is dead or just dormant?
Use the scratch test: lightly scratch the bark on several branches with your fingernail. Green or greenish-white cambium means the branch is alive; dry brown tissue means it’s dead. A dormant tree will show green cambium on most or all branches. Test multiple spots — partial dieback doesn’t mean the whole tree is gone.
How often should I water my juniper bonsai?
There’s no single right answer, which is exactly why fixed schedules fail. Check the top ½ inch of soil daily — water thoroughly when it approaches dryness, wait if it’s still moist. In summer heat with full sun, that might mean daily watering; in cool fall weather, every 2–3 days; in winter dormancy, every 1–2 weeks.
Why are the tips of my juniper turning brown?
Browning that starts at the tips and moves inward is the classic sign of underwatering — foliage will feel dry and crispy. If the browning is soft and starts in the interior of the foliage pads, suspect overwatering or root rot. Uniform browning across the whole tree points to light deprivation or freeze damage.
Can I repot a juniper that is already stressed?
Generally, no. Repotting adds significant stress, and a struggling tree may not survive the combination. Stabilize care first — get it outdoors, fix the watering, confirm the soil is draining properly. The one exception: if root rot is confirmed and the tree is actively dying from it, emergency repotting to remove rotted roots may be the only option. Work as gently and quickly as possible, and move the tree to a sheltered spot immediately afterward.