Quick Answer: The best time to repot cotoneaster bonsai is late February through mid-March (USDA Zones 6–8), just as buds begin to swell but before they open. This late-winter window maximizes root regeneration because stored energy is at its peak and auxin production is rising. A secondary window in August–September works as a fallback if you miss the spring opportunity.
Knowing when to repot cotoneaster bonsai is one of the most important skills you can develop with this genus. Get the timing right and your tree bounces back quickly, pushing vigorous new roots and fresh foliage. Get it wrong and you’re fighting wilting, yellowing leaves, and a stressed tree heading into the wrong season. This guide covers the ideal windows, the physiology behind them, and everything you need to do the job well.
When to Repot Cotoneaster Bonsai: The Ideal Window
The sweet spot is when buds are fattening and just beginning to show color, but before any green tissue has broken free. In most of the UK and the US mid-Atlantic states (USDA Zones 6–8), that falls between late February and mid-March.
Why does this narrow window matter? Three things align at bud swell: auxin production rises (auxin is the hormone that drives root regeneration), stored carbohydrate reserves in the roots and trunk are at their annual peak after dormancy, and soil temperatures climbing above 45°F (7°C) switch root meristems back on. The tree is primed to grow new roots immediately — exactly what you want after pruning the old ones.
Adjust Timing for Your Climate Zone
| USDA Hardiness Zone | Typical Repotting Window |
|---|---|
| Zone 5 | Mid-March to early April |
| Zone 6 | Late February to mid-March |
| Zone 7 | Mid-February to early March |
| Zone 8 | Late January to mid-February |
| Zone 9 | January (watch for early bud swell) |
Use the bud swell cue rather than the calendar — seasons shift year to year, and the tree is a more reliable guide than any fixed date.
If you miss the primary spring window, a secondary opportunity opens in August–September once the year’s new growth has lignified. It’s less ideal — the tree has less time to establish new roots before dormancy — but far better than attempting a repot in midsummer heat or mid-autumn.
Seasons to Avoid and Why
Midsummer (June–July): Heat stress, high transpiration demand, and active shoot growth all compound the stress of root pruning. Recovery is slow and wilting risk is high.
Mid-to-late autumn (October–November): Root regeneration almost stops as the tree heads toward dormancy. Wounds from root pruning won’t heal until spring, leaving them vulnerable to rot through winter.
During active berry display: If you want to enjoy the autumn fruit, avoid repotting while the pomes are on the tree. Wait until late winter.
How Often to Repot Cotoneaster Bonsai
The real guide isn’t the calendar — it’s the roots. Check the root ball annually by gently easing the tree partway out of its pot. If roots are circling the walls or pushing through drainage holes, it’s time regardless of when you last repotted. As a general guide:
| Tree Stage | Recommended Frequency |
|---|---|
| Young/developing (under 10 years in training) | Every 1–2 years |
| Mature/refined (10+ years) | Every 2–3 years |
| Large established specimens | Every 3–5 years |
| Shohin and mame | Every 1–2 years |
Signs Your Cotoneaster Needs Repotting
- Roots circling the interior pot walls or escaping drainage holes
- Reduced vigor — shorter internodes, smaller leaves than previous seasons
- Poor berry production despite adequate light and feeding
- Soil drying out unusually fast (roots have displaced most of the soil volume)
- Water running straight through without being absorbed (compacted, hydrophobic soil)
Old akadama breaks down over several years, losing its particle structure and turning into a dense, anaerobic paste. You’ll see the decline in reduced vigor and poor berry set long before the tree looks obviously sick — by which point recovery takes much longer.
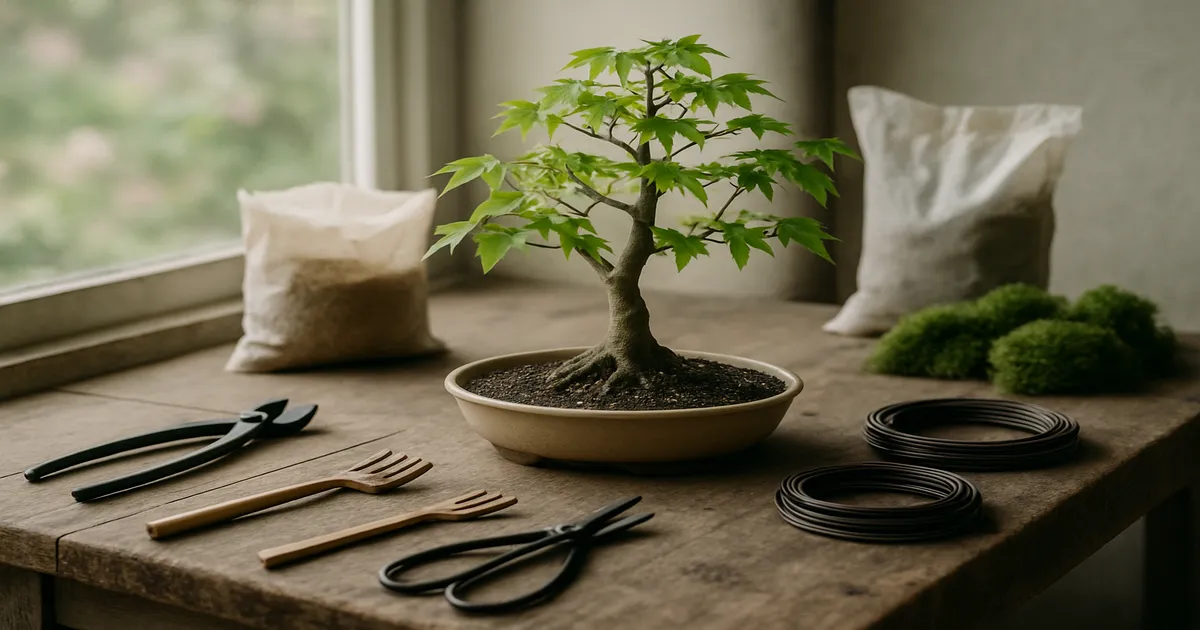
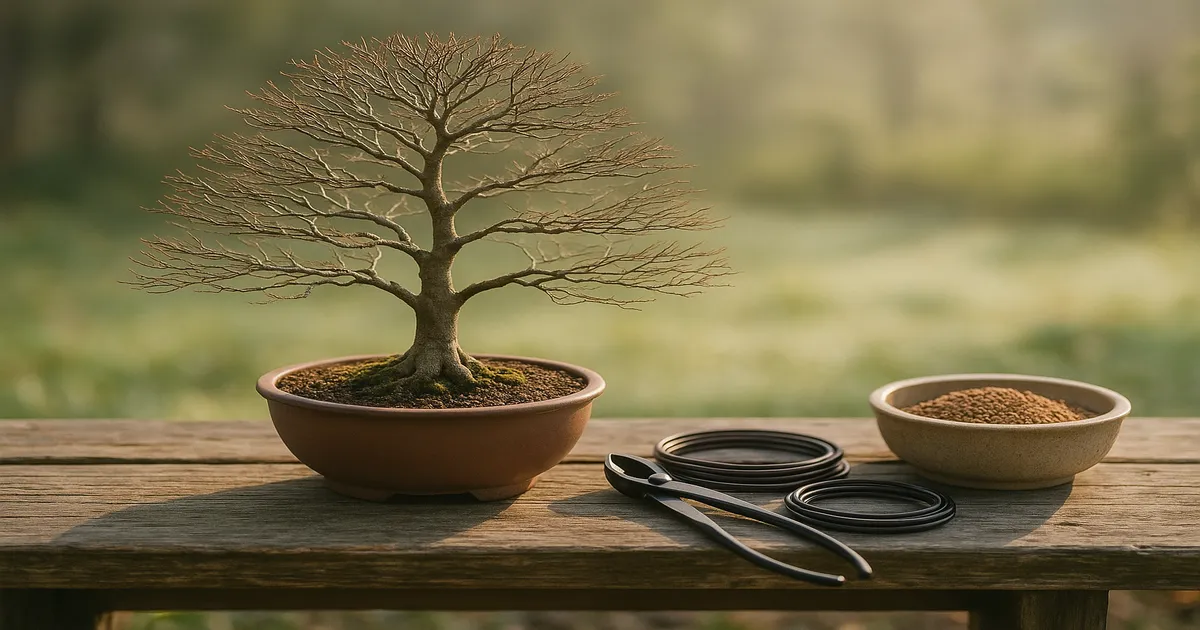
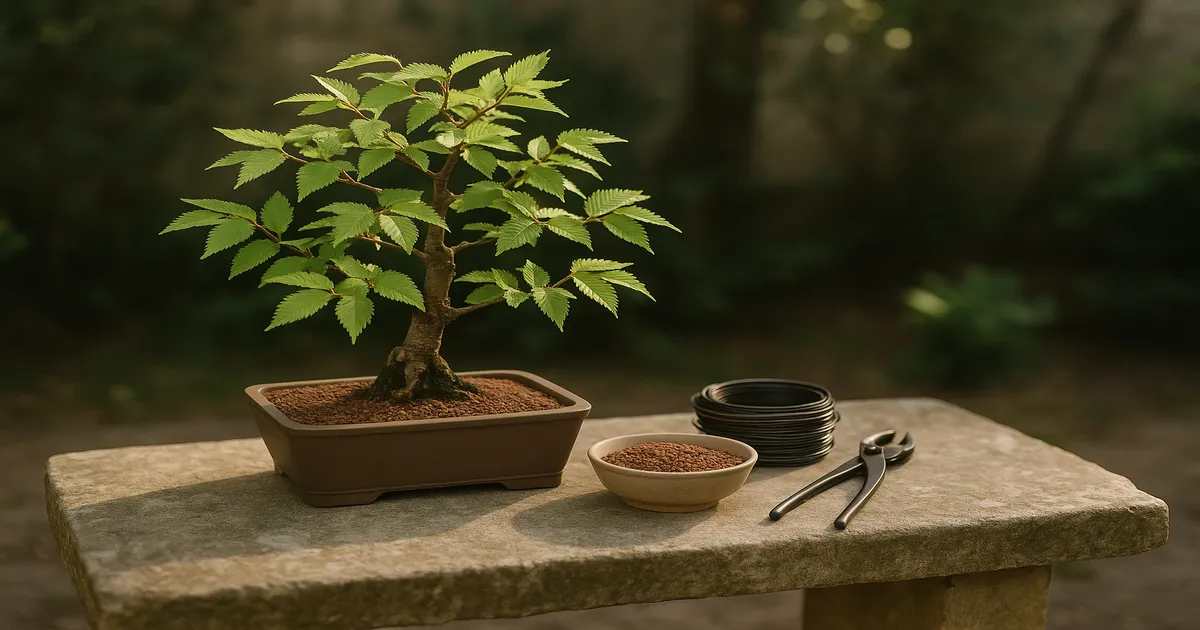
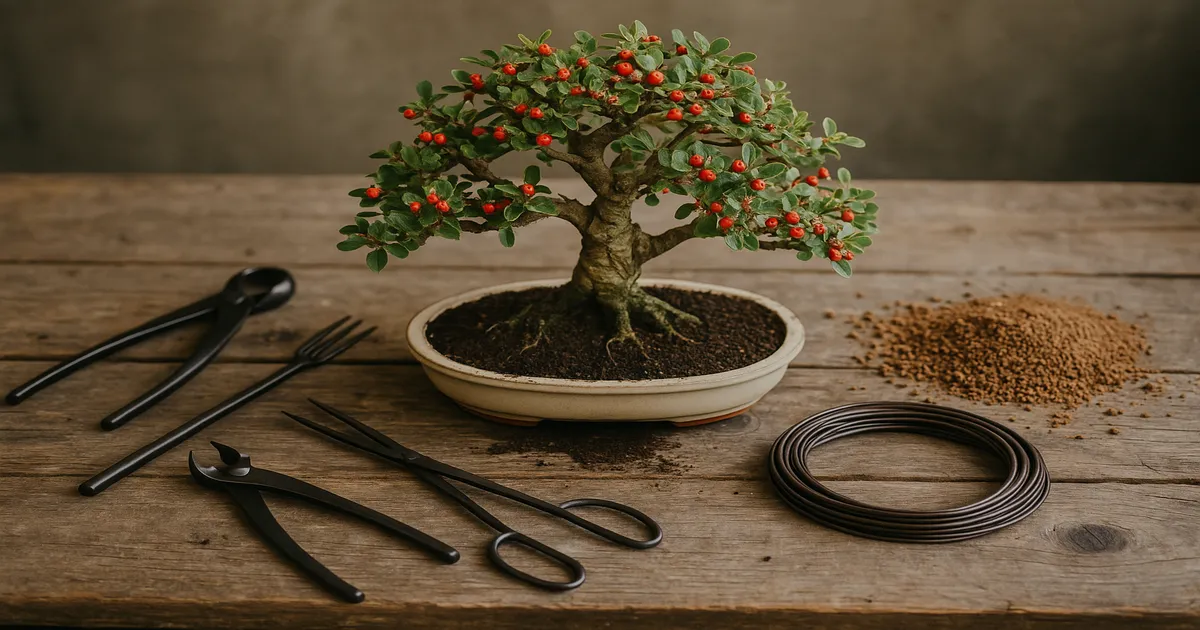
Step-by-Step Cotoneaster Bonsai Repotting Process
Tools and Materials
- Root hook and chopstick for combing out the root ball
- Sharp root scissors or root shears
- Wire cutters for removing old tie-down wire
- Drainage mesh and new tie-down wire
- Fresh bonsai soil (see mix ratios below)
- A clean pot, pre-wired with drainage mesh
Removing the Tree and Inspecting the Root Ball
Run a root hook around the inside perimeter of the pot to break the soil away from the walls. Tip the pot gently and ease the root ball out — don’t force it. Once out, note where roots are circling, where they’re dense and healthy, and whether there’s any sign of rot (dark, mushy roots with a sour smell).
Root Pruning: How Much to Remove
For a healthy tree, removing up to one-third of the total root mass is safe. Use sharp scissors to cut cleanly — crushed roots regenerate more slowly than cleanly cut ones. Focus on:
- Circling roots — cut them back to prevent girdling
- Long tap roots extending straight down
- Dense, matted fine roots at the base of the root ball
- Any visibly dead or rotting roots (remove these entirely)
Leave healthy, well-distributed feeder roots intact. They’re the engine of recovery.
Choosing the Right Pot
For a developing tree you’re still building mass on, move up one pot size. For a refined tree in maintenance, stay in the same pot or go slightly smaller to increase root restriction and refine the nebari. Cotoneaster suits unglazed earth-tone pots for informal styles, though C. horizontalis in cascade looks striking in a deep, dark glazed pot.
The Ideal Soil Mix for Cotoneaster Bonsai
Standard temperate mix (Zones 6–8): 50% akadama, 25% pumice, 25% lava rock. (Bonsai Jack Inorganic Bonsai Soil Mix)
Adjust for your climate:
- Hot/dry (Zones 8–9): 60% akadama, 20% pumice, 20% lava rock — extra akadama retains moisture in fast-drying conditions
- Cold/wet (Zones 5–6): 40% akadama, 30% pumice, 30% lava rock — more inorganic content improves drainage and reduces waterlogging
Use 3–6 mm particle size for standard trees; 1–3 mm for shohin and mame. Never use standard potting compost — it compacts, goes anaerobic, and suffocates cotoneaster roots within a season or two.
Potting Up and Aftercare
Work fresh soil into all the gaps around the root ball using a chopstick, eliminating air pockets. Secure the tree with tie-down wire through the drainage holes. Water thoroughly until water runs freely from the base.
Then be patient. Place the tree in a sheltered spot with dappled light — no harsh midday sun — for two to four weeks. Keep the soil consistently moist but never waterlogged. Hold off on fertilizer for four to six weeks to avoid burning new root tips.
Pruning and Wiring Around Repotting Time
Combining Structural Pruning with Repotting
The late-winter repotting window and the structural pruning window overlap almost perfectly — both are best done just before bud break. Combining them in a single late-February session is efficient and means the tree only goes through one major stress event rather than two. Use sharp concave cutters and apply cut paste to any wound larger than 5 mm.
Maintenance Pruning Through the Growing Season
Once the tree is growing freely (April through September), pinch or cut new shoots back to one or two leaves once they’ve extended four to six leaves. This encourages ramification and keeps the silhouette tight. If berry production is your goal, leave the flowers — deadheading them removes the pomes before they form.
Wiring Tips
The ideal wiring window is late winter before bud break, when branches are bare and clearly visible. Avoid wiring during the spring flush when bark is soft — wire bite can happen within four to six weeks at that time of year.
- Primary/structural branches: 2.0–3.5 mm aluminum
- Secondary branches: 1.0–2.0 mm aluminum
- Fine ramification: 0.8–1.0 mm aluminum or copper
Aluminum is preferred over copper on cotoneaster — the bark is relatively thin and copper’s greater rigidity increases bite risk. Check wired branches every two to three weeks in spring.
Don’t repot, heavily prune, and wire all in the same session. Repotting plus structural pruning together is fine, but heavy wiring on top of that compounds stress significantly. Wire primary branches a few weeks after repotting, once you can see the tree is recovering well.
Troubleshooting Common Repotting Problems
Tree wilts after repotting. Some wilting in the first week is normal — the reduced root system can’t yet keep up with transpiration demand. Move the tree to full shade, mist the foliage lightly in the morning, and confirm the soil stays consistently moist. Most cotoneasters recover within ten to fourteen days as new roots begin to form.
Leaves yellowing or dropping. A small amount of leaf drop immediately after repotting is a normal stress response. Persistent yellowing combined with consistently wet soil points to overwatering. Check that drainage holes are clear and that water isn’t pooling at the pot base. If the soil feels soggy more than 48 hours after watering, your mix needs more inorganic content.
Root rot despite fresh soil. This almost always traces back to waterlogged soil or blocked drainage. Remove all affected roots with clean scissors, dust cut surfaces with powdered sulfur, and repot into a drier, more inorganic mix. Move the tree somewhere with good air circulation.
No new growth after several weeks. If four to six weeks have passed with no bud movement, investigate. Check the roots — white and firm means healthy; brown and mushy means rot. Confirm the tree is in the right temperature range for active growth: 55–85°F (13–29°C). Repotting too late in the season or removing more than a third of the root mass can delay recovery significantly. Cotoneaster is resilient, but it needs time and the right conditions.
Frequently Asked Questions About When to Repot Cotoneaster Bonsai
Can you repot cotoneaster bonsai in autumn?
Autumn repotting is not recommended. By mid-October the tree is moving toward dormancy and root regeneration has slowed dramatically. Wounds from root pruning are unlikely to heal before cold weather arrives, increasing rot risk. If you must repot outside the primary spring window, late summer (August–September) is a far safer fallback.
How much root can you safely remove when repotting cotoneaster bonsai?
Up to one-third of the root mass is safe during the primary spring window. Focus on circling roots, long tap roots, and dense matted growth at the base. Cotoneaster tolerates aggressive root pruning better than many deciduous species, but always err on the side of caution with older or weaker trees — remove less and repot again sooner.
What soil mix is best for cotoneaster bonsai after repotting?
A free-draining inorganic mix is essential. The standard recommendation is 50% akadama, 25% pumice, and 25% lava rock for temperate climates (Zones 6–8). Increase akadama to 60% in hot, dry conditions, or reduce it to 40% with higher pumice and lava rock in cold, wet climates. Use 3–6 mm particle size for most trees; 1–3 mm for shohin.
How long does cotoneaster bonsai take to recover after repotting?
When repotted at bud swell, most cotoneasters show visible new root activity within two to three weeks and are fully active within four to six weeks. Trees repotted in the secondary late-summer window may take slightly longer to settle before dormancy slows them down. Recovery is fastest when aftercare is correct: shelter, consistent moisture, and no fertilizer for the first four to six weeks.
Should you fertilize cotoneaster bonsai immediately after repotting?
No — wait four to six weeks before applying any fertilizer. Fresh root tips are vulnerable, and fertilizer salts can burn them before they’ve had a chance to establish. Once healthy new growth is extending, start with a diluted balanced fertilizer and build up gradually over the following weeks.