Quick Answer: Repot your bonsai azalea immediately after flowering — typically late April through early June — using a Kanuma-dominant mix of 60–70% Kanuma, 20–30% Akadama, and 10–20% Pumice at pH 4.5–6.0. Prune no more than one-third of the root mass, then keep the tree in dappled shade with consistent moisture for 2–4 weeks during recovery.
Repotting bonsai azalea is one of the most rewarding skills you can develop. Get the timing and soil right, and your tree will reward you with explosive growth and increasingly spectacular blooms year after year. Get it wrong, and you risk stressing a tree that may have taken decades to develop. This guide covers everything: when to repot, what soil to use, how to handle the roots, and how to nurse your tree back to full vigor.
Repotting Bonsai Azalea: Key Facts at a Glance
| Factor | Details |
|---|---|
| Optimal timing | Immediately post-bloom (late April–early June) |
| Alternative timing | Late winter, just before bud break (sacrifices flowers) |
| Frequency — young trees | Every 1–2 years |
| Frequency — mature trees | Every 2–3 years |
| Frequency — older specimens | Every 3–5 years |
| Primary soil component | Kanuma 60–70% |
| Full mix | Kanuma 60–70%, Akadama 20–30%, Pumice 10–20% |
| Target soil pH | 4.5–6.0 (ideally 5.0–5.5) |
| Maximum root removal | Up to one-third of root mass |
| Post-repot shade period | 2–4 weeks (50% shade cloth) |
| Resume fertilising | 4–6 weeks after repotting |
Species Overview: Rhododendron Genera and Key Cultivars
Azaleas belong to the family Ericaceae and are technically rhododendrons. Evergreen and semi-evergreen types fall under subgenus Tsutsusi, while deciduous azaleas belong to subgenus Pentanthera. In their native habitat — the acidic, humus-rich mountain soils of Japan, China, and Korea — they grow at elevations between 1,000 and 6,000 feet. That origin story explains almost everything about how to care for them in a pot.
Best Varieties for Bonsai: Satsuki, Kurume, and Deciduous Types
| Variety | Type | Bloom Time | Leaf Size | Cold Hardiness |
|---|---|---|---|---|
| R. indicum (Satsuki) | Evergreen | May–June | Small | 15–20°F (-9–-7°C) |
| R. obtusum (Kurume) | Semi-evergreen | March–April | Small | 5–10°F (-15–-12°C) |
| R. kiusianum | Evergreen | April–May | Tiny | 10–15°F (-12–-9°C) |
| R. schlippenbachii (Royal Azalea) | Deciduous | April–May | Large | -10°F (-23°C) |
| R. kaempferi | Semi-deciduous | April–May | Medium | 0–5°F (-18–-15°C) |
Satsuki (R. indicum) is the undisputed king of azalea bonsai, prized for its late bloom, extraordinary cultivar diversity, and small leaves. Kurume types bloom earlier and suit dense, compact designs well. For shohin and mame work, R. kiusianum is hard to beat — its naturally dwarf habit and tiny leaves are almost purpose-built for miniature bonsai.
Unlike many species with thick, fleshy roots that resent disturbance, azaleas produce a fine, fibrous root system that responds extremely well to pruning. Root pruning encourages even finer feeder roots, which improves water and nutrient absorption. It’s one of the main reasons azaleas are so rewarding once you understand their basic requirements.
When to Repot Bonsai Azalea: Timing Is Everything
The Golden Rule: Repot Immediately After Flowering
The single most important rule: repot your azalea bonsai as soon as the flowers fade, before significant new vegetative growth hardens. This window — typically late April through early June depending on variety and climate — is when the tree transitions from reproductive effort into its most vigorous phase of vegetative growth. Recovery is faster at this stage than at any other point in the year.
If you miss the post-bloom window, late winter repotting (just as buds begin to swell) is a workable alternative. The full growing season ahead gives the tree ample time to recover. The trade-off is real, though — you’ll sacrifice that year’s flowering display entirely.
How Often Should You Repot?
- Young/developing trees (under 10 years in training): Every 1–2 years
- Mature, refined trees: Every 2–3 years
- Older specimen trees: Every 3–5 years, assessed individually
These are guidelines, not rigid rules. A young tree in a small pot in a hot climate may need annual repotting; a large, slow-growing specimen in a generous container might go four years comfortably.
How to Tell If Your Azalea Bonsai Needs Repotting
The most reliable method is the tip-out assessment. In late winter, gently slide the tree out of its pot and examine the root ball. If roots are circling the pot walls densely, or the root mass holds the exact shape of the container, it’s time. Other signs include water running straight off the surface without penetrating, noticeably reduced growth compared to previous years, and the tree drying out unusually fast after watering.
Avoid repotting entirely during:
- Full bloom
- Midsummer heat (above 90°F/32°C)
- Autumn — insufficient time to recover before dormancy
- Winter dormancy
The Best Soil Mix for Repotting Bonsai Azalea
Azaleas evolved in acidic mountain soils, and their roots simply cannot function properly outside pH 4.5–6.0. Above this range, iron and manganese become chemically unavailable, causing chlorosis even when nutrients are present. The mix also needs to drain freely while retaining enough moisture to prevent desiccation between waterings — a balance that standard potting compost cannot achieve.
The Kanuma-Dominant Mix
The go-to mix for Satsuki and evergreen azalea bonsai:
- Kanuma (60–70%): A Japanese volcanic soil with a naturally acidic pH of 4.5–5.5. It retains moisture while draining freely and provides the acidic environment azalea roots demand.
- Akadama (20–30%): Adds structure and cation exchange capacity, allowing the soil to hold nutrients. It breaks down over 2–3 years — which is exactly why regular repotting is necessary.
- Pumice (10–20%): Improves aeration and prevents compaction without altering pH.
Kanuma is essentially irreplaceable for azalea bonsai. No other single component replicates its combination of acidity, water retention, and drainage.
Alternative Mix If Kanuma Is Unavailable
Use 50% Akadama, 30% Pumice, 20% decomposed pine bark or ericaceous compost. Without Kanuma’s built-in acidity, you’ll need to monitor pH more actively. Acidifying fertilizer and rainwater or reverse osmosis water become non-negotiable with this mix.
pH Management and What to Avoid
Test your soil pH annually — a basic pH meter costs very little and removes the guesswork. If your tap water is alkaline (above pH 7.0), switch to rainwater or RO water. Ammonium sulfate-based acidifying fertilizers help maintain pH over time; elemental sulfur corrects it gradually if needed.
Avoid these in your azalea soil:
- Standard potting compost or garden soil — wrong pH, compacts badly
- Limestone-based grit — raises pH and triggers chlorosis
- Perlite as a primary component — too inert, lacks nutrient exchange capacity
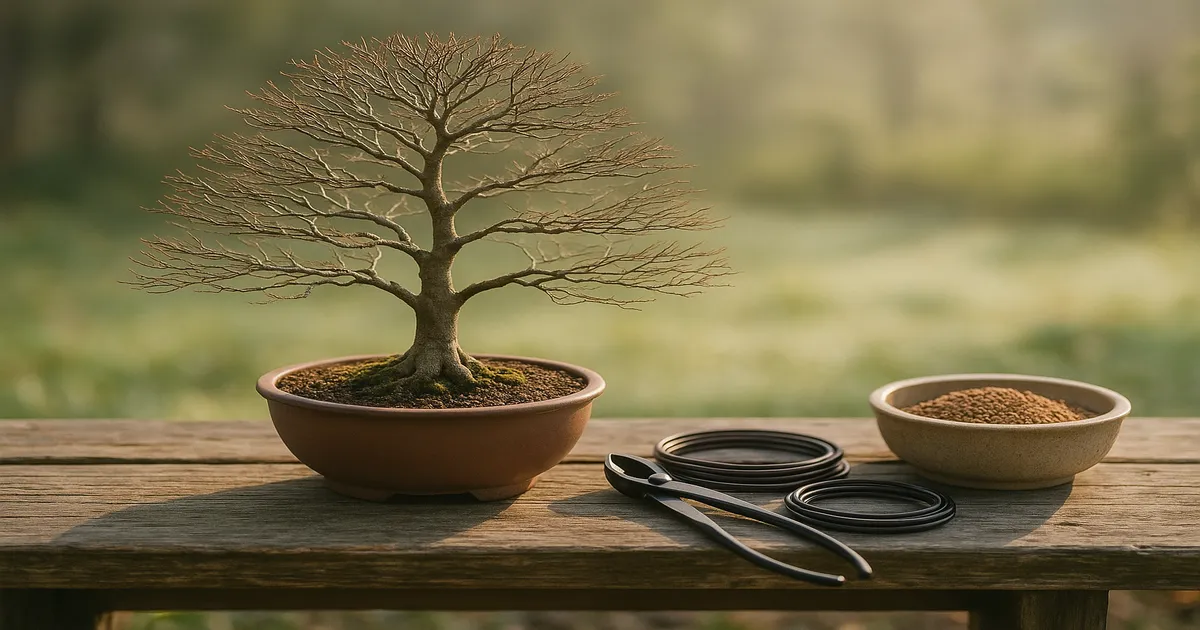
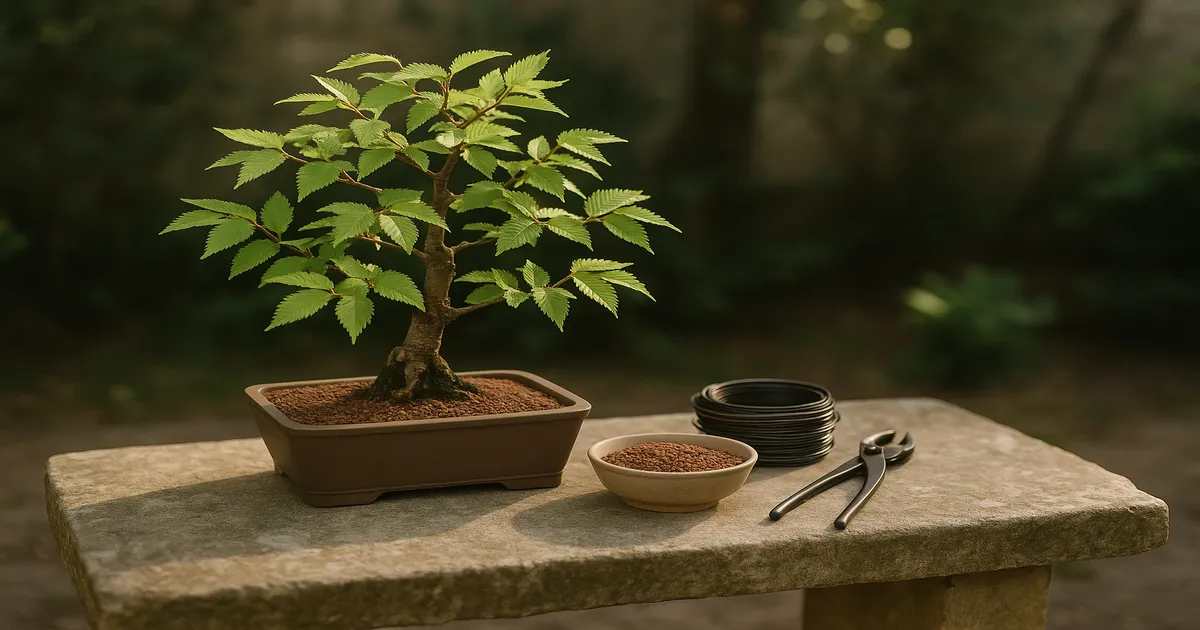
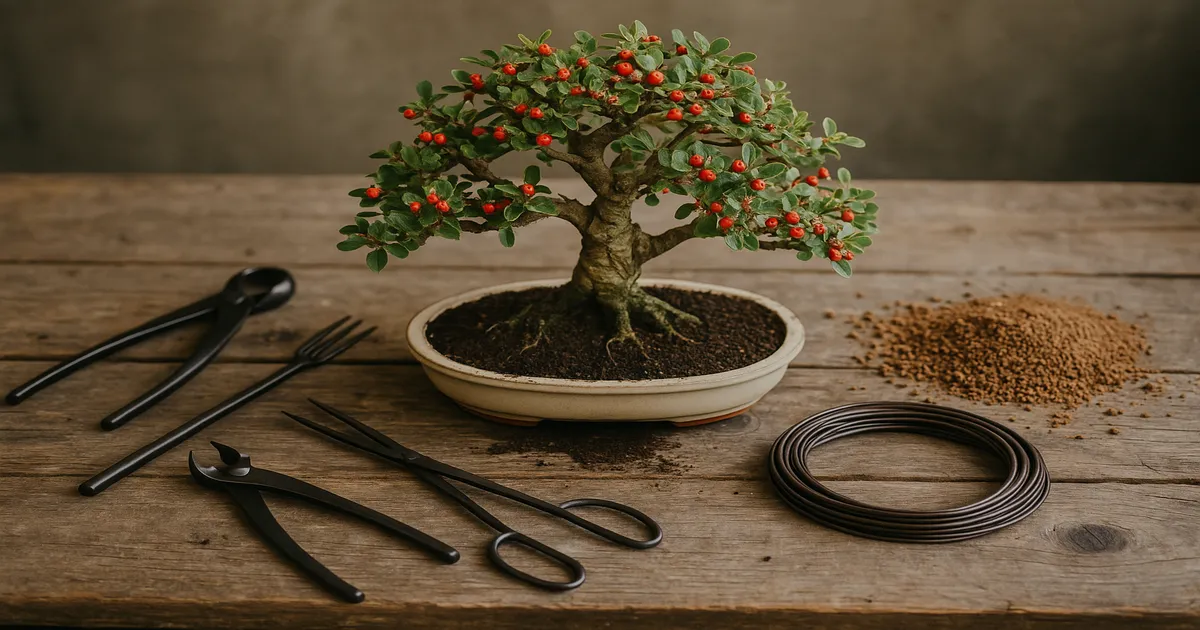
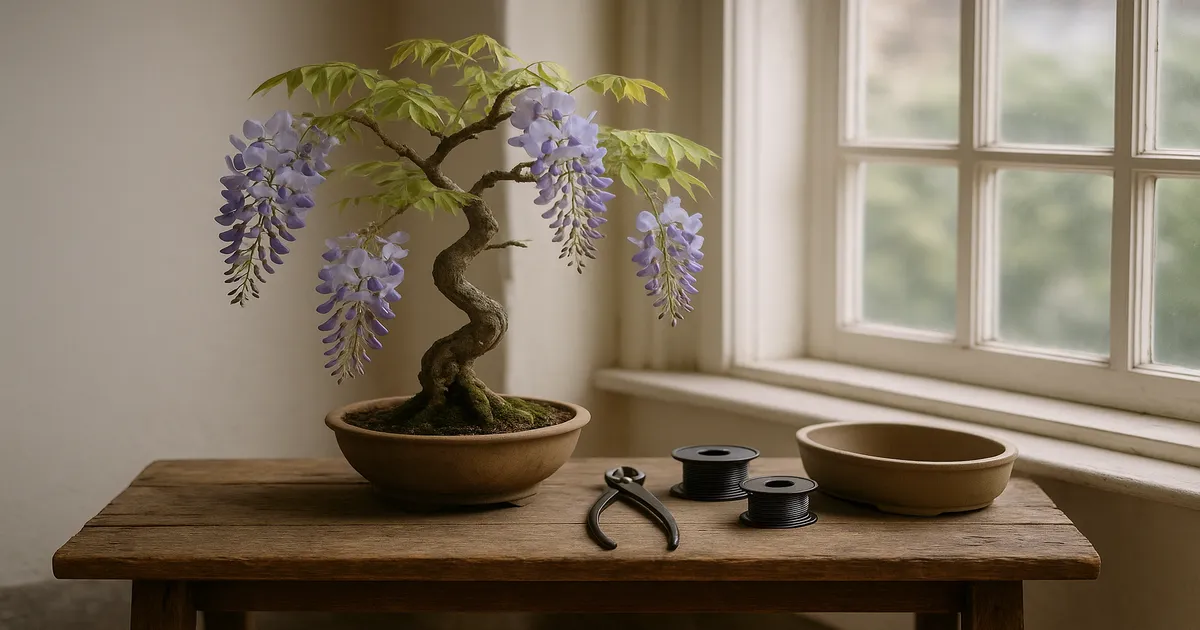
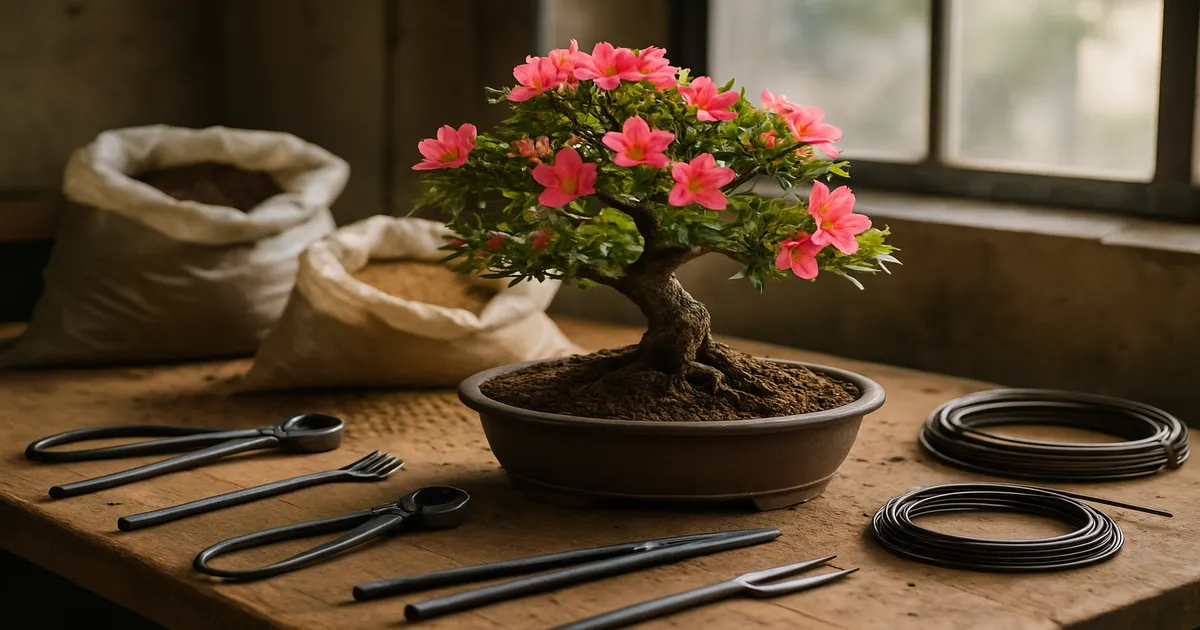
Step-by-Step: How to Repot a Bonsai Azalea
Tools and Materials
- Root hook and root rake
- Sharp, sterilized root scissors or pruning shears
- Concave cutters for larger roots
- Wire mesh for drainage holes
- Anchor wire (2.0–3.0 mm aluminum)
- Fresh Kanuma/Akadama/Pumice mix
- Clean pot (pre-soaked if terracotta)
- Spray bottle with water
- Cut paste
Step 1 — Pre-Repotting Preparation
Water the tree thoroughly 24 hours before repotting. A well-hydrated tree handles root disturbance significantly better than a dry one. Prepare your fresh soil mix in advance. If you’re using a terracotta pot, soak it overnight so it doesn’t immediately wick moisture away from the new roots.
Step 2 — Removing the Tree and Assessing the Root Ball
Ease the tree carefully out of its pot — never pull it by the trunk. Run a root hook or spatula around the inside edge if it’s stuck. Once out, take a moment to assess: note where roots are circling, where they’re healthy and white, and where any rot or damage may be present.
Step 3 — Root Pruning
Using a root rake or chopstick, gently comb out the root ball, working from the bottom and sides. Remove old, compacted soil and untangle circling roots. Prune up to one-third of the total root mass — no more. Cut cleanly with sharp scissors; ragged cuts invite disease. Apply cut paste to any cuts larger than about ¼ inch (6 mm), and mist the exposed roots regularly throughout the process to prevent them drying out.
Step 4 — Preparing the Pot
Cover drainage holes with wire mesh, secured with wire bent into a staple shape. Thread anchor wires up through the drainage holes. Add a thin layer of coarse pumice or larger-particle Kanuma as a drainage layer, then a mound of fresh mix to position the tree at the correct height.
Step 5 — Positioning and Securing the Tree
Place the tree on the soil mound, adjusting the front angle and height. The nebari (surface roots) should sit just slightly above the pot rim — the soil will settle. Thread the anchor wires through the root ball and twist them firmly together. A tree that moves in its pot will not establish new roots efficiently.
Step 6 — Adding Soil and Working It In
Pour fresh mix around and over the root ball, then use a chopstick to work soil into all the air pockets between roots. Work methodically around the pot, poking gently to eliminate gaps. Tap the pot on the bench a few times to help soil settle. The final soil level should sit about ½ inch below the pot rim to allow for watering.
Step 7 — First Watering and Immediate Aftercare
Water thoroughly right away, using a fine-rose watering can until water flows freely from all drainage holes. This first watering settles the soil and makes first contact between roots and fresh Kanuma. Move the tree immediately to a sheltered, shaded spot. No fertilizer for at least 4–6 weeks.
Recovery Care After Repotting Bonsai Azalea
Watering, Light, and Temperature
Keep the soil consistently moist but never waterlogged. Check the top half-inch of soil daily — in warm weather, small pots may need watering every day. Mist the foliage and surface roots if conditions are warm and dry.
Place the repotted tree under 50% shade cloth for 2–4 weeks. The root system is temporarily compromised and cannot support the water demand that full sun creates. If temperatures exceed 90°F (32°C), move the tree to a cooler, shadier spot. After 2–4 weeks, once you see new bud break, gradually reintroduce it to normal light conditions.
When to Resume Fertilising
Wait 4–6 weeks before applying any fertilizer — fresh roots are sensitive and fertilizer salts can burn them. When you do resume, use an acidic or ericaceous formulation. Liquid fertilizers at half strength are gentler for the first application; switch to your normal feeding schedule once the tree is clearly in active growth.
Reading Recovery: Good Signs vs. Stress Signals
Positive signs:
- New bud break and fresh leaf growth
- Firm, upright new shoots
- Soil drying at a normal, even rate
Stress signals:
- Wilting despite consistently moist soil — increase shade and reduce watering slightly; check for root rot
- Yellowing leaves — check soil pH; may indicate root damage or pH drift
- Sudden leaf drop — reassess watering, temperature, and root condition
If you see wilting with wet soil, don’t water more. That’s the instinct, but it makes things worse. Increase shade and airflow first.
Pruning and Wiring
Pruning After Flowering
Azalea flowers form on the previous year’s new growth. Prune in late summer, autumn, or winter, and you’re cutting off next year’s buds. Prune immediately after the flowers fade, and the new growth that follows will carry next season’s buds. Post-bloom pruning and repotting are often done in the same session — a convenient and efficient combination.
Maintenance pruning covers the annual tidying work: removing spent flowers promptly, pinching new shoots back to 1–2 leaves once they reach 3–4 nodes, and removing weak or crossing growth. This is done immediately post-bloom and lightly again in late summer.
Structural pruning — heavy branch removal, creating taper, establishing the primary framework — is best done in late winter before bud break, or immediately post-bloom for less severe cuts. Heavy structural work will sacrifice that year’s flowering, so plan it deliberately into your development schedule.
Wiring Azalea Branches
Always use aluminum wire on azaleas — never copper. Azalea bark is thin and delicate, and copper’s greater rigidity makes bark damage almost inevitable. Wrap at a 45-degree angle, snug but not biting, and bend branches slowly. Azalea wood can crack if rushed, especially on older, drier branches.
Check wire every 2–3 weeks during the growing season — spring growth can be surprisingly fast. At the first sign of wire marks appearing in the bark, remove it immediately. Always cut wire off in sections rather than unwinding it; unwinding risks snapping branches. Wire marks on azalea bark can take 1–3 years to fully disappear, so prevention is far better than cure.
Troubleshooting Common Problems
Yellowing Leaves and Interveinal Chlorosis
If leaf tissue between the veins turns yellow while the veins stay green, you’re almost certainly looking at iron or manganese deficiency caused by soil pH above 6.0. Test your soil pH first — don’t guess. Switch to rainwater or RO water, apply an acidifying fertilizer, and if the problem is severe, emergency repotting into fresh Kanuma mix is the fastest fix.
Root Rot
Root rot (Phytophthora spp.) is caused by persistently waterlogged, compacted soil. Signs include wilting despite wet soil, soft mushy roots (dark brown or black rather than healthy white/tan), and a sour smell from the soil. The treatment is emergency repotting: remove all affected roots, dust cuts with fungicide powder, and repot into fresh, uncontaminated Kanuma mix. Improve drainage and reduce watering frequency going forward.
Failure to Flower
The most common cause is pruning at the wrong time — cutting after midsummer removes the buds that were forming on new growth. Other causes include insufficient light (azaleas need bright, indirect light for most of the day), skipping the winter chilling period that many varieties need to set buds, and over-feeding with high-nitrogen fertilizer late in the season, which pushes vegetative growth at the expense of flowering.
Frequently Asked Questions
Can I repot my azalea bonsai while it’s in flower? No. Repotting during bloom stresses the tree and causes flowers to drop prematurely. Wait until the last petals have fallen, then repot as quickly as possible.
What happens if I repot at the wrong time of year? Repotting in summer heat or autumn gives the tree insufficient time to establish new roots before stress or dormancy sets in. Survival is possible, but expect reduced growth and a longer recovery. Late winter is the safest fallback if you miss the post-bloom window.
Can I use ericaceous compost instead of Kanuma? Ericaceous compost provides the right pH but compacts quickly and retains too much moisture for bonsai containers. Use it only as a minor component (up to 20%) in a mix that includes Pumice and Akadama for structure and drainage.
How do I know if my azalea bonsai has recovered from repotting? The clearest sign is new bud break followed by firm, healthy new shoots. Once the tree is pushing active growth and the soil is drying at a normal rate, you can gradually return it to full sun and resume a regular fertilizing schedule.
My azalea bonsai hasn’t flowered in two years. What’s wrong? Check three things first: pruning timing (late pruning removes flower buds), light levels (too much shade suppresses flowering), and winter temperatures (many varieties need a cold period of 35–45°F/2–7°C for 6–8 weeks to initiate bud set). High-nitrogen feeding late in the season is another common culprit.