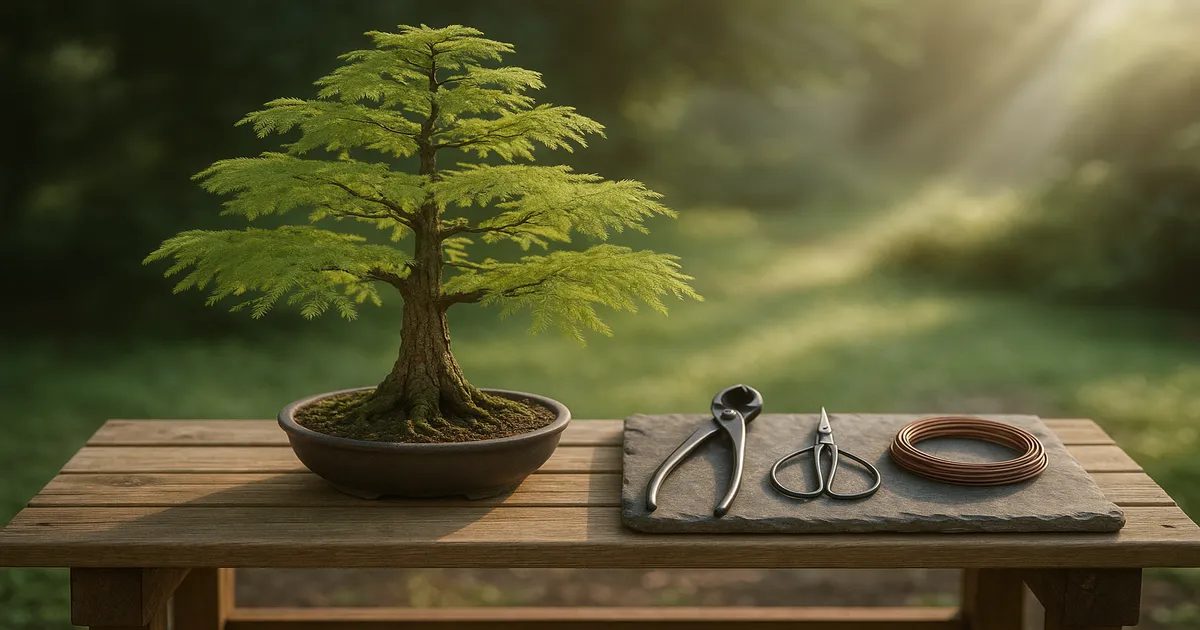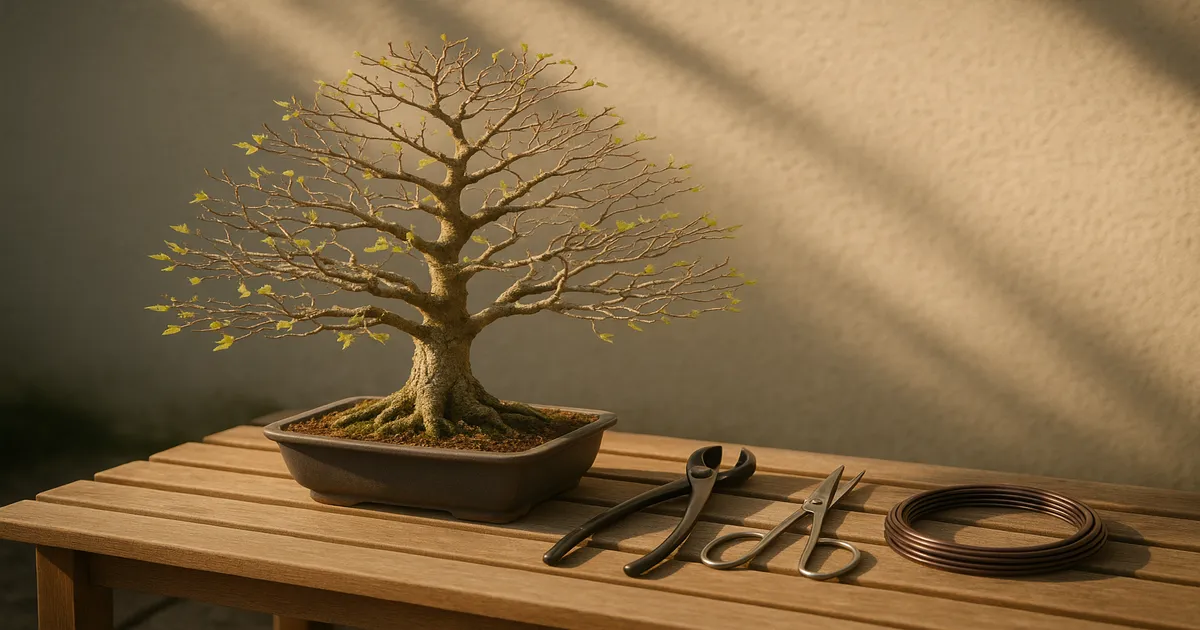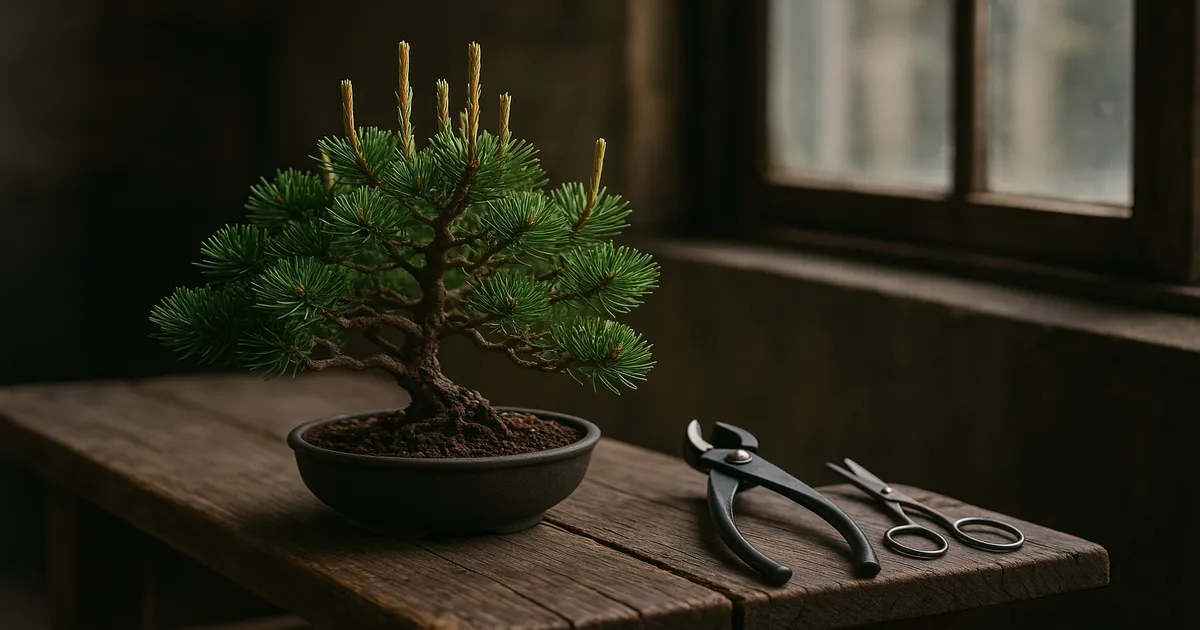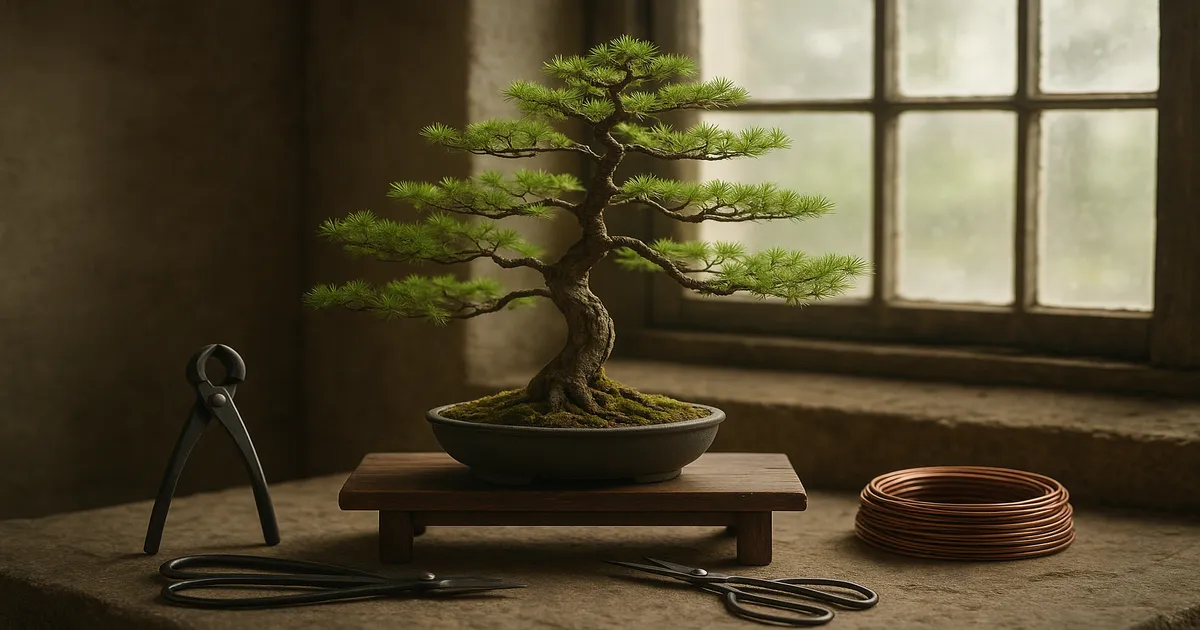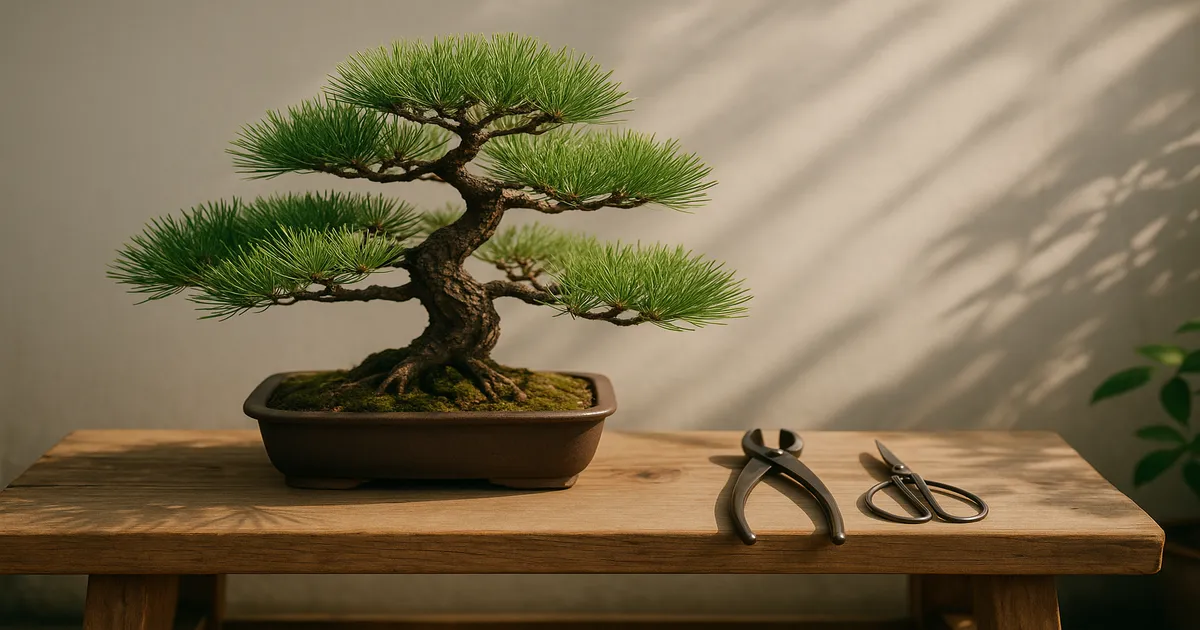
Quick Answer: Prune Japanese Black Pine bonsai in three distinct phases: decandle in late May to mid-June, pull needles and select buds in September through November, and do structural work during winter dormancy (November–February). Timing each phase correctly is what separates thriving trees from declining ones — this species rewards precision.
Japanese Black Pine (Pinus thunbergii, or Kuromatsu) is one of the most rewarding — and most demanding — species in bonsai. Knowing when to prune Japanese Black Pine bonsai matters as much as knowing how. This species runs on a precise two-flush growth cycle that dictates every cut you make throughout the year. Get the timing right and you’ll build dense, ramified pads with short needles. Get it wrong and you’ll spend seasons chasing vigor imbalances you could have avoided.
Japanese Black Pine Pruning: Seasonal Overview
The Two-Flush Growth Cycle
Unlike most pines, Japanese Black Pine reliably produces two growth flushes per season when managed correctly. The first flush emerges from overwintered buds in spring. When you remove those spring candles — a technique called decandling — the tree pushes a second flush of buds in late summer. That second flush becomes next year’s first flush, and the cycle continues, building ramification with every passing year.
This is what makes JBP special. White pine, Scots pine, and most other bonsai pines don’t respond this way, which is why their pruning schedules look completely different.
Seasonal Pruning Calendar
| Season | Task | Timing |
|---|---|---|
| Spring | Decandling | Late May – mid-June (Zones 6–8) |
| Fall | Needle pulling, bud selection | September – November |
| Winter | Structural pruning, wiring | November – February |
Why Pruning Timing Matters for Japanese Black Pine
Growth Habit and Apical Dominance
Pinus thunbergii originates from the rocky, wind-battered coastlines of Japan and South Korea — places with full sun, poor sandy soil, and constant salt spray. In bonsai, that coastal toughness translates into vigorous, fast growth that demands active management. Left unpruned, a JBP builds a dense, tangled canopy with long needles and little interior light within just a few seasons.
JBP also has strong apical dominance: upper and outer branches grow significantly faster than lower and inner ones. If you treat every branch the same, the top of the tree will eventually starve the bottom of energy and light. Pruning isn’t just about shape — it’s about actively redirecting vigor to keep the whole structure alive and balanced.
How the Two-Flush Technique Builds Ramification
The logic is elegant once you see it. Overwintered buds push candles in spring. You remove those candles before the needles fully open, which triggers the tree to form two to five new buds at each cut site. Those buds extend through late summer as the second flush. Over multiple seasons, each cut site multiplies into a cluster of fine shoots — which is how you build the tight, cloud-like pads that define a refined JBP.
Spring: Decandling Japanese Black Pine
When to Decandle
The decandling window is narrow — usually two to three weeks. In USDA Zones 6–8, that falls between late May and mid-June. In warmer Zone 9 climates, you may decandle as early as mid-May. In cooler Zone 5 areas, wait until late June.
The visual cue is more reliable than the calendar: candles should be fully elongated, but the needles must still be bundled together and not yet fanning open. Once needles separate, you’ve missed the ideal window and the second flush will be noticeably weaker.
How to Decandle
- Use sharp, clean scissors or bonsai shears — dull blades crush tissue and slow healing.
- Cut each candle cleanly at its base, flush with the previous year’s growth. Leave no stubs.
- Work from the bottom and interior of the tree upward and outward.
- Complete all candles at a given tier before moving to the next.
Working bottom-to-top is deliberate. Lower branches are weaker and need a head start so their second flush keeps pace with the vigorous upper branches.
Vigor Equalization: Staggering Your Cuts
This is the single most important nuance in JBP pruning. Strong upper and outer branches should be decandled one to two weeks before weaker lower and inner branches. That delay lets the weaker areas catch up before the stronger zones respond to the cut.
- Strong branches (upper/outer): Decandle first, early in the window
- Weak branches (lower/inner): Decandle 1–2 weeks later
- Very weak branches: Consider skipping decandling entirely for the season and letting them build strength
What to Expect After Decandling
Within four to six weeks, you should see two to five small buds forming at each cut site. By late summer those buds will extend into short shoots with compact needles. Reduce watering slightly until the new buds are clearly pushing — this encourages the tree to search for resources and back-bud more aggressively. Also dial back nitrogen fertilizer in the four to six weeks before decandling to avoid pushing excessively long second-flush internodes.
Fall: Needle Pulling and Bud Selection
When to Pull Needles on Japanese Black Pine Bonsai
Needle pulling happens after the second-flush needles have fully hardened — typically September through November, depending on your climate. The needles should feel firm and stiff, not soft or pliable. Pulling too early stresses the tree; pulling too late, after hard frost, causes needles to snap rather than release cleanly.
Needle Pulling Technique
Pull old needles (previous year’s growth from the lower and interior portions of each branch) downward with a gentle twisting motion. They should release without tearing if the timing is right. Never strip a branch bare — always leave enough foliage for the branch to photosynthesize.
Target needle-pair counts per shoot:
- Strong branches: Reduce to 5–7 pairs
- Weak branches: Leave 8–12 pairs to support recovery
Bud Selection
While pulling needles, count the buds at each node. You’ll often find three, four, or even five buds clustered at a single cut site from last spring’s decandling. Leave only two to three evenly spaced buds per node and pinch the rest off cleanly. Keeping too many buds leads to crowded, weak shoots the following spring.
The principle mirrors decandling: apply more reduction pressure to strong areas, more restraint to weak ones. Read each branch individually rather than applying a single rule across the whole tree.
Winter: Structural Pruning and Wiring
Why Winter Is the Right Time for Structural Work
Winter dormancy — November through February — is when you do the heavy work. Sap flow is minimal, so large cuts bleed far less than they would in spring. Needle pulling is complete, so you can actually see the branch structure. Any wound you make has the entire growing season ahead to begin callusing.
Which Branches to Remove First
Work through removals in this priority order:
- Dead, dying, or diseased branches
- Crossing or rubbing branches — keep the one with better position
- Hangers (branches growing straight down from a horizontal limb)
- Bar branches (two branches at the same height on opposite sides of the trunk)
- Reverse-taper branches — those thicker at the tip than at the base
Use concave branch cutters for all significant removals — the concave cut heals flush rather than leaving a protruding knob.
Sacrifice Branches
A sacrifice branch is one you intentionally allow to grow freely — unpruned, unwired — for one to three seasons. The goal is to thicken a thin trunk section or build taper in a specific area. Once that section reaches the desired thickness, remove the sacrifice branch in winter. It’s a deliberate trade: tolerate an ugly branch temporarily to improve the tree’s long-term structure.
Wound Treatment
Apply cut paste immediately to any wound larger than about ¼ inch (6 mm) in diameter. Realistic healing timelines:
- Small cuts (under ¼ inch): Callus in 1–2 seasons
- Medium cuts (¼–½ inch): 2–4 seasons
- Large cuts (over ½ inch): 4–10+ seasons; refresh wound paste annually
For jin and shari deadwood features, carve in winter and seal with lime sulfur. Reapply each spring to preserve and whiten the wood.
Wiring
The primary wiring window runs November through January, aligned with structural pruning. Needles are pulled, branches are visible, and wire can remain through the entire growing season for maximum effect. Avoid wiring during active spring growth — expanding tissue bites into wire within weeks, leaving scars that take years to fade.
Wire gauge guide:
- 1.0–1.5 mm: Fine secondary branches and ramification
- 2.0–2.5 mm: Medium primary branches
- 3.0–4.0 mm: Heavy bending of primary branches
- 5.0–6.0 mm: Trunk bending on young stock
Annealed copper wire holds bends more firmly and is preferred by experienced practitioners. Anodized aluminum is more forgiving for beginners and works well on lighter branches.
Check wired branches every two to four weeks during the growing season — a wire that looked fine in March can be cutting in by May. Always cut wire off rather than unwinding it; unwinding risks snapping a branch that has set in its new position.
Care Conditions That Affect Pruning Success
Sun: Eight to ten hours of direct sun daily isn’t just a preference — it directly determines how effective your pruning will be. Full sun produces shorter internodes, shorter needles, and denser back-budding. A tree grown in partial shade will have elongated internodes that make ramification harder to achieve, even with perfect technique. Fix the light situation before worrying about refining your decandling schedule.
Dormancy: Japanese Black Pine needs six to ten weeks of temperatures below 40°F (4°C) to complete dormancy. Trees denied this — kept in a heated garage or brought indoors — show progressive decline over multiple seasons. The two-flush technique depends on a proper dormancy reset. An unheated garage or cold frame that stays between 25–40°F (-4–4°C) is ideal.
Soil and watering: A well-draining mix is the foundation. A 1:1:1 ratio of akadama, pumice, and lava rock works well for most climates. Reduce watering slightly after decandling until new buds are clearly forming, then resume normal frequency once the second flush hardens in fall.
Common Pruning Mistakes
Decandling too early or too late. Decandling before candles have fully elongated produces a weak, uneven second flush — the tree hasn’t stored enough energy yet. Decandling after needles have fanned open compresses the second-flush window and results in shorter, less vigorous shoots. If you’ve decandled late, reduce watering and maximize sun exposure to give the second flush the best possible conditions.
Stripping weak branches too hard. Reducing a weak branch below five or six needle pairs starves it of photosynthesis. Unlike strong branches that bounce back quickly, weak branches may die back entirely if pushed too hard. When in doubt, leave more needles on weaker branches and apply reduction pressure to the strong ones.
Structural pruning during active spring growth. Heavy cuts during candle extension (March–May) cause significant sap loss and disrupt the energy the tree needs for its first flush. If you must remove a branch in spring because it’s dead or causing immediate harm, keep it to the minimum necessary and save the rest for winter.
Ignoring vigor differences between upper and lower branches. Treating every branch the same is the fastest way to lose your lower branches. The upper canopy will always outcompete the lower if you don’t actively counterbalance it — through staggered decandling timing, leaving more needles on lower branches, and applying more reduction pressure to the top.
Frequently Asked Questions
When should you prune Japanese Black Pine bonsai for the first time?
Start conservatively. In your first season, focus on understanding the growth cycle rather than aggressive refinement. Decandle in late May or June, pull needles in fall, and limit structural work to removing clearly dead or crossing branches in winter. Observe how your specific tree responds before applying more advanced techniques like staggered decandling timing.
What happens if you skip decandling Japanese Black Pine?
Skipping decandling for a season won’t kill a healthy tree, but it sets back refinement significantly. The tree produces only one flush of long-needled growth, internodes elongate, and ramification doesn’t increase. Over multiple skipped seasons, foliage pads become coarse and open rather than dense and refined. Weak or recovering trees are sometimes intentionally left undecandled for a season to rebuild strength.
Can you prune Japanese Black Pine bonsai in summer?
Minor directional pruning — removing shoots growing in the wrong direction — is fine throughout summer. Decandling, however, should happen in late May to mid-June, not midsummer, and heavy structural cuts should wait until winter dormancy. Summer structural pruning causes significant sap loss and disrupts the second-flush cycle.
Should you prune Japanese Black Pine the same way as other pines?
No. JBP’s two-flush cycle makes decandling possible, which isn’t reliable or appropriate for most other pines. White pine (Pinus parviflora) and most European species produce only one flush per season and are managed by candle pinching rather than full removal. Applying JBP decandling to a single-flush pine can severely weaken or kill it.
How long do pruning wounds take to heal on Japanese Black Pine bonsai?
Small cuts under ¼ inch (6 mm) typically callus within one to two growing seasons. Medium cuts of ¼–½ inch take two to four seasons. Large cuts over ½ inch can take a decade or more to fully close and may need periodic reapplication of wound paste. Using concave cutters and applying cut paste immediately after each cut gives you the best healing outcome.