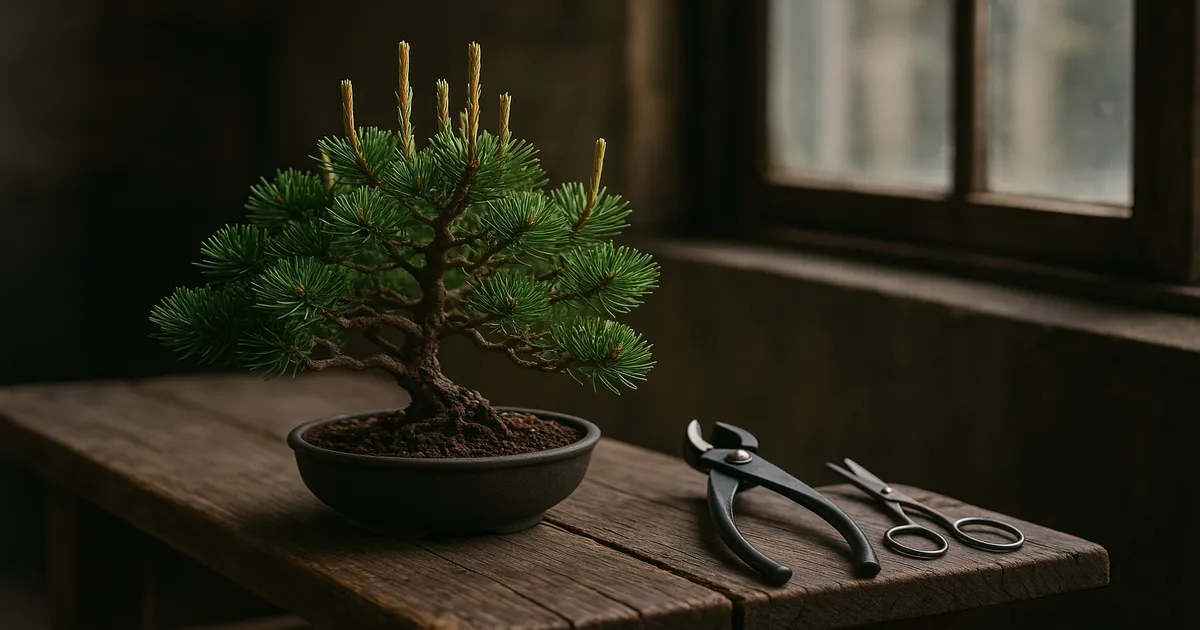
Quick Answer: Yes, you can absolutely prune a dwarf mugo pine — and you should. Regular pruning keeps its compact form, encourages backbudding, and builds the refined silhouette that defines quality bonsai. Technique and timing matter enormously, so read on before you pick up the shears.
Can You Prune a Dwarf Mugo Pine? Start Here
Without intervention, a dwarf mugo pine stays relatively compact — but “relatively compact” isn’t refined bonsai. Apical dominance gradually starves inner and lower branches of energy, foliage pads become congested and shaded, and the tree loses the backbudding potential that keeps it interesting for decades.
Pruning fixes all of this. It redirects energy from dominant tips to weaker interior shoots, shortens internodes, and — done correctly — triggers new buds from older wood. The result is a denser, more convincing miniature tree with each passing season.
What Makes Dwarf Mugo Pine a Great Bonsai Candidate
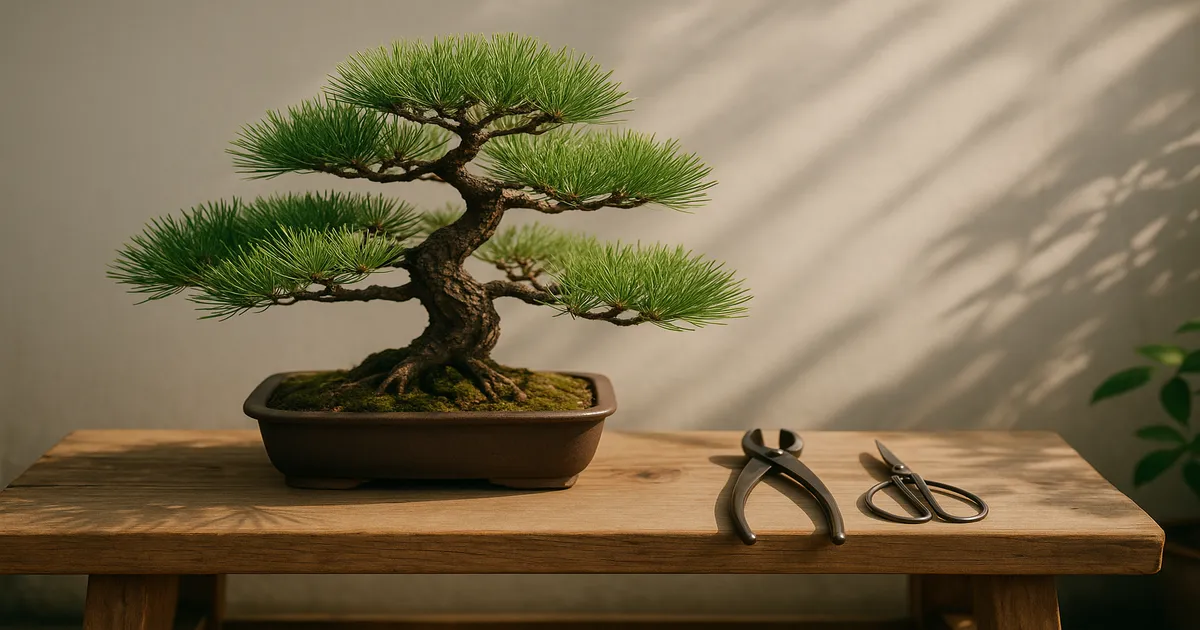
Pinus mugo var. pumilio is one of the more forgiving pines to work with. Its naturally short internodes mean you start closer to the refined look you want. Needles are small (1–2 inches), paired, and persist 3–5 years, building dense foliage pads without much coaxing. The bark — gray-brown, fissured, and plated with age — gives even younger specimens a convincing ancient character.
Backbudding potential is solid compared to many other pines. Cold hardiness is exceptional (Zones 2–7). Growth is slow enough that mistakes don’t compound as fast as they might on a black pine. This is a tree that rewards patience.
Dwarf Mugo Pine: Species Overview
Growth Habit and Native Habitat
Pinus mugo Turra is native to the subalpine and alpine zones of central and southern Europe — the Alps, Carpathians, Apennines, and Balkans — typically at elevations between 4,900 and 8,200 feet. In the wild it forms dense, low-spreading thickets called Latschenkiefer, hugging the ground against wind and snow. Cultivated dwarf forms push just 2–4 inches of new growth per year, which is a large part of their appeal for bonsai work.
Best Cultivars for Bonsai Pruning Work
| Cultivar | Key Characteristics | Bonsai Suitability |
|---|---|---|
| ’Mops’ | Globe-shaped, extremely short internodes | Excellent — most popular choice |
| ’Slowmound’ | Dense mounding habit, reliable growth | Excellent |
| ’Gnome’ | Ultra-dwarf, tight needle clusters | Excellent for shohin/mame |
| ’Paul’s Dwarf’ | Very slow, tiny needles | Excellent for refined shohin work |
| ’Sherwood Compact’ | Uniform growth, good backbudding | Very good |
| ’Winter Gold’ | Needles turn golden in winter | Good — adds seasonal color |
| var. pumilio (species form) | Slightly more vigorous, irregular growth | Good — more structural material |
Yamadori specimens collected from European alpine regions are prized for their pre-existing taper, gnarled trunks, and natural deadwood. Export regulations vary by country, so research sourcing carefully before you buy.
How Pines Grow: What You Need to Know Before Pruning
Determinate Growth and Candle Formation
Pines are determinate growers. They produce a fixed number of buds in a single flush each season rather than pushing new growth continuously. Each spring, dormant buds extend into candles — those elongating, pale green shoots you see emerging before needles open. These candles become the season’s extension growth, then set buds for the following year. Understanding this cycle tells you exactly when and how hard to intervene.
Apical Dominance and Backbudding
Energy in a pine flows upward and outward. The apex and outermost tips receive the most resources; inner and lower branches get progressively less. Without management, this imbalance compounds year after year. Every pruning decision should work against this tendency, redirecting energy toward the parts of the tree you want to develop.
Backbudding — new buds forming on older, interior wood — happens when terminal bud dominance is reduced and light reaches the interior. You accomplish both by pinching or removing candles and by thinning needles. Keep this principle in mind and every technique below will make intuitive sense.
How to Prune a Dwarf Mugo Pine: Core Techniques
Candle Pinching: Your Primary Annual Task
The window opens when candles have elongated to roughly half to two-thirds of their final length — in USDA Zone 6, that’s typically late April through late May. Adjust 2–4 weeks earlier for warmer zones, later for cooler ones.
Technique:
- Snap candles by hand — never use scissors at this stage, which leaves ragged needle stubs
- Remove the central (dominant) candle entirely or reduce it significantly
- Reduce side candles by one-third to one-half
- Leave weak branches alone or barely touch them; cutting already-weak growth makes the imbalance worse
The goal is equalization. Strong branches get cut hard; weak branches get a pass. Think of the tree in zones: the apex always wants to run, so pinch it hardest. Middle branches get moderate reduction. Lower branches, fighting apical dominance from above, often need the lightest touch — or none at all until they’ve built enough strength.
Decandling: The Advanced Technique
Decandling takes things further. Instead of pinching partially extended candles, you wait until candles have fully extended, then remove them entirely. This forces a second flush of growth with noticeably shorter internodes and smaller needles. Over multiple seasons it dramatically increases ramification and refines the foliage pads.
In Zone 6, decandling happens in June to early July. Too early and the second flush grows too long; too late and new growth won’t harden before frost.
Important: decandling is only for vigorous, healthy trees. Never decandling a weak tree, a recently repotted tree, or one under stress. If you’re unsure whether your tree is strong enough, stick with candle pinching for another season and build the tree up first.
Needle Thinning and Shoot Selection
Needle thinning is a late-summer job — August through September in Zone 6, after the current year’s growth has fully hardened. Dense foliage blocks light from interior buds, suppressing backbudding and weakening inner branches. Thinning opens the canopy, encourages new bud formation, and improves airflow.
How to thin:
- Work branch by branch, starting at the apex and moving downward
- Pull old needles (2–3 years old) downward along the shoot with your fingers — they come away cleanly when ready
- For refined work, thin current-year needle pairs down to 6–10 pairs per shoot
- For developing trees where you still want energy and mass, leave 12–15 pairs per shoot
- Don’t cut needles with scissors — it leaves brown tips that persist for years
Once growth has hardened, assess each branch tip. Aim for 2–3 buds or shoots per branch tip. Remove shoots growing inward toward the trunk, downward, or across other branches.
Structural Pruning: Defining the Bonsai Framework
Best Timing for Branch Removal
The ideal window for removing entire branches is late winter to very early spring — February through March in Zone 6 — just before sap begins rising strongly. Wounds heal relatively quickly as growth kicks in. Early fall (September–October) is an acceptable alternative. Avoid midsummer structural work when the tree is under heat stress, and avoid mid-spring when candles are actively extending.
Which Branches to Remove
Remove:
- Branches that cross or touch other branches
- Front-facing branches growing straight toward the viewer, or straight back without adding depth
- Bar branches — two branches emerging from the same point at the same height
- Branches disproportionately thick for their position in the design
Keep:
- Branches with natural movement, taper, and character
- Anything with potential for interesting deadwood features
- In early development: when in doubt, keep it — a branch removed now is gone for years
Wound Treatment and Deadwood
Apply wound sealant to any cut larger than about ¼ inch in diameter. (Masakuni Cut Paste) Concave cutters create a slightly hollowed wound that calluses more flush with the trunk than a flat cut — essential for clean trunk lines. Large wounds can take 3–7 years to fully callus over, so check them annually.
Branches removed for structural reasons don’t have to disappear entirely. Strip the bark, refine the wood with a carving tool, and treat with lime sulfur to create jin (deadwood branch stubs) or shari (deadwood channels along the trunk). Mugo pine’s naturally weathered aesthetic makes it one of the best species for this work.
Pruning Rules and Mistakes to Avoid
Five Rules for Pruning Dwarf Mugo Pine
- Never strip all foliage from a branch. Pines cannot reliably backbud from completely bare wood. Always leave some foliage to maintain vascular flow.
- Never remove more than one-third of total foliage in a single season. Even if the tree looks like it can handle more, don’t push it.
- Balance vigor before you refine. A weak tree needs building up, not cutting back. Fertilize, optimize light, and skip the scissors until the tree is strong.
- Prune in stages across multiple seasons. Major structural work one year, refinement the next.
- Disinfect tools between trees. Use 70% isopropyl alcohol or a 10% bleach solution — pathogens spread on blades. Keep your shears and concave cutters sharp. (King KW-65 1000/6000 Combination Whetstone)
Common Mistakes That Weaken or Kill the Tree
- Pruning during active candle extension — the tree is at its most vulnerable; wait until candles reach the right stage
- Using scissors on soft candles — the ragged cut damages needle tissue and leaves ugly brown stubs
- Ignoring apical dominance — pruning all branches equally guarantees the apex will dominate and lower branches will die
- Over-pruning a weak tree — if the tree is already struggling, more cuts won’t fix it; address the root cause first
Supporting Care: Soil, Water, and Seasonal Conditions
Soil Mix for Healthy Pruning Recovery
A well-draining, aerated soil is the foundation that makes everything else work. For most temperate climates, use a 2:2:1 mix of akadama, pumice, and lava rock (40% akadama, 40% pumice, 20% lava rock). In hot, dry climates, shift toward more pumice and lava rock; in cold, wet climates, increase pumice to maximize drainage.
One critical point: preserve the mycorrhizal network when repotting. Pines depend on symbiotic fungi for water and nutrient uptake. Always retain some old soil when repotting and avoid fungicides. Some practitioners add a small amount of soil from beneath an established pine to inoculate fresh mixes.
Watering, Light, and Winter Protection
Water thoroughly before any pruning session — a hydrated tree handles stress better than a dry one. After pruning, maintain consistent moisture without letting the soil become waterlogged. During active growth, water when the top ½–1 inch of soil begins to dry, which in warm weather often means daily. In fall, back off to every 2–3 days. In winter dormancy, water every 7–14 days — just enough to prevent the root ball from desiccating completely. Always water until it flows freely from the drainage holes.
Dwarf mugo pine is strictly an outdoor species. It needs 6–8 hours of direct sunlight daily during the growing season. Below 4–5 hours, growth elongates, backbudding diminishes, and disease susceptibility climbs. In climates where summer temperatures regularly exceed 95°F (35°C), light afternoon shade can prevent needle scorch in small pots.
In the ground, mugo pine handles temperatures down to -40°F (-40°C). In a container, the roots are exposed to ambient air and freeze much more readily. Protect containerized trees when temperatures drop below 15°F (-9°C). A cold frame or unheated greenhouse is ideal; burying the pot in mulch or soil is a simple and effective alternative. Avoid heated indoor spaces — anything consistently above 45°F (7°C) disrupts dormancy.
Frequently Asked Questions About Pruning Dwarf Mugo Pine
When is the best time to prune a dwarf mugo pine bonsai?
It depends on the type of pruning. Candle pinching happens in late April through late May (Zone 6) when candles reach half to two-thirds of their final length. Needle thinning and shoot selection happen in late summer (August–September). Structural branch removal is best done in late winter to early spring (February–March), just before growth begins.
Can you cut back a dwarf mugo pine hard without killing it?
You can make significant cuts, but hard pruning has limits with pines. Never remove more than one-third of the total foliage in a single season, and never strip all needles from a branch — pines cannot reliably backbud from bare wood. Space major structural work across multiple seasons, and only prune hard when the tree is demonstrably vigorous and healthy.
What is the difference between candle pinching and decandling?
Candle pinching happens while candles are still elongating — you snap them by hand to reduce extension and equalize vigor across the tree. Decandling is an advanced technique where you remove fully extended candles entirely in June–July to force a second flush with shorter internodes and smaller needles. Candle pinching suits most trees annually; decandling is reserved for vigorous, established specimens.
How do you encourage backbudding on a dwarf mugo pine?
Backbudding is triggered by reducing terminal bud dominance and letting light into the interior. Pinch candles aggressively on strong branches each spring, thin needles in late summer to open up the foliage mass, and ensure the tree gets at least 6–8 hours of direct sun daily. A well-fed tree in good soil will backbud far more readily than a stressed one.
Can a dwarf mugo pine be kept indoors after pruning?
No — not beyond a day or two. Dwarf mugo pine requires outdoor conditions, full sun, and genuine winter dormancy to survive long-term. Keeping it indoors deprives it of light and disrupts its seasonal cycle. Without proper dormancy, the tree weakens progressively and typically declines within one to three years.