Quick Answer: Yes, you can grow hornbeam (Carpinus spp.) in pots — and it’s considered one of the finest deciduous bonsai subjects in the world. Its fibrous root system, tolerance of root pruning, and naturally slow container growth rate make it highly adaptable to pot culture. Specimens over 100 years old exist in Japanese collections. The non-negotiables are outdoor placement year-round, genuine winter dormancy at 25–45°F (-4–7°C), and a fast-draining bonsai soil mix.
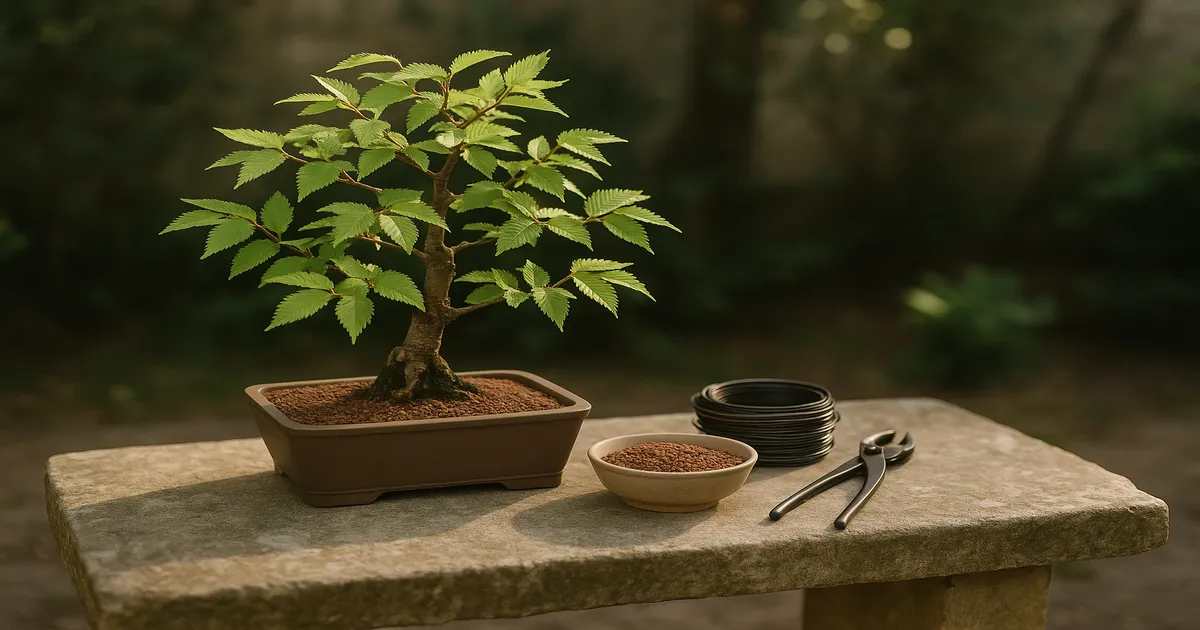
If you’ve been wondering whether you can grow hornbeam in pots, the answer is not just yes — it’s one of the best trees you can choose for container culture. The genus Carpinus produces those distinctive muscular, fluted trunks that bonsai growers spend decades chasing. Its naturally dense, fibrous root system means it adapts to pot life with far less drama than many other deciduous species. This guide covers everything: species selection, soil, watering, pruning, wiring, repotting, and troubleshooting.
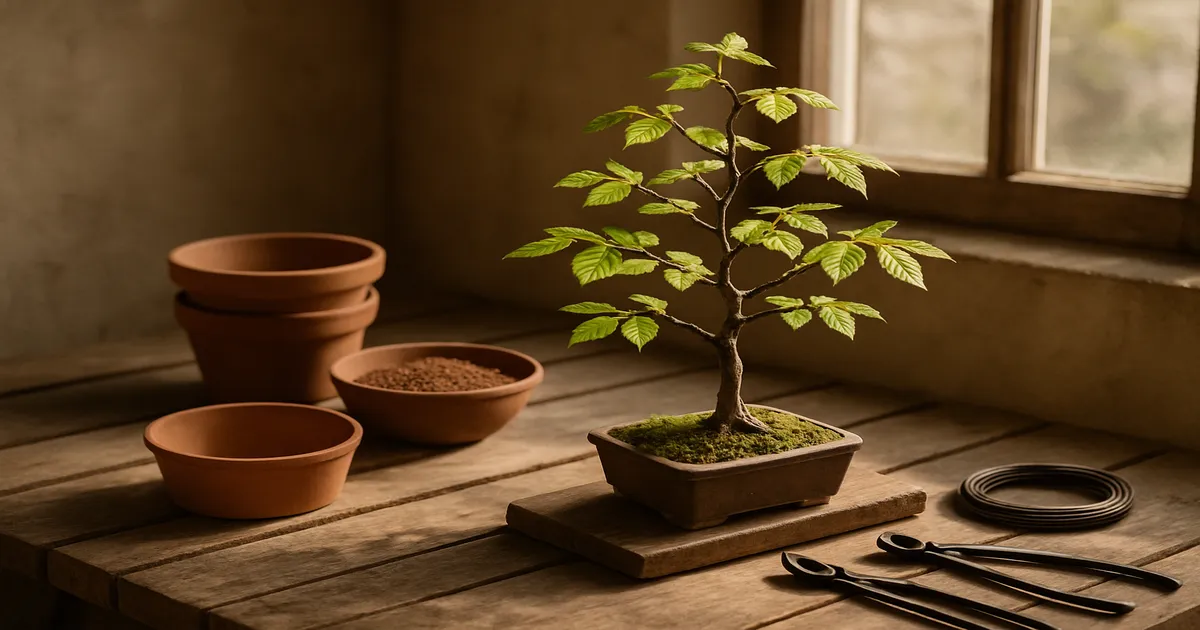
Can You Grow Hornbeam in Pots? What Makes It Such a Good Fit
Hornbeam’s biology works in the container grower’s favor at almost every level. The roots are fine and fibrous rather than thick and fleshy, so they tolerate pruning and confinement without the shock that affects coarser-rooted species. Growth slows naturally in a pot, keeping internodes short and encouraging the tight ramification that makes a bonsai look refined. The smooth gray bark and fluted trunk character actually intensify as the tree matures in a container — you’re working with the tree’s nature, not against it.
Three conditions are genuinely non-negotiable:
- Outdoor placement year-round — hornbeam cannot survive as a permanent indoor tree
- True winter dormancy at 25–45°F (-4–7°C) — skip this and the tree slowly exhausts itself over two to three years
- Well-draining bonsai soil — standard potting compost will eventually rot the roots
Get these right and hornbeam is a forgiving, rewarding tree. Get them wrong and no amount of careful pruning will save it.
Best Hornbeam Species for Pot Growing
Carpinus betulus – European Hornbeam
The most widely available species in Europe and North America, C. betulus is a reliable choice for beginners and experienced growers alike. It develops a classic fluted trunk, produces excellent autumn color, and ramifies readily with correct pruning. Hardy to Zone 4, it tolerates a wide range of conditions without complaint.
Carpinus turczaninowii – Korean Hornbeam
This is the species most prized for refined bonsai work. Korean hornbeam naturally produces smaller leaves and finer twigs than C. betulus, which means less work is required to achieve an elegant, detailed appearance. It’s the go-to choice when you want a sophisticated result and are willing to source it from a specialist nursery.
Carpinus japonica and Carpinus laxiflora
Both are highly regarded in Japanese bonsai tradition. C. japonica has an elegant, slightly elongated leaf and superb ramification potential. C. laxiflora offers delicate branching and leaves smaller than those of C. betulus. Either makes an excellent pot specimen, though both are less commonly available outside specialist suppliers.
Carpinus caroliniana – American Hornbeam
Known as musclewood, C. caroliniana is native to eastern North America and is among the hardiest of the group (Zone 3). It tolerates slightly wetter soils than the other species, making it a little more forgiving if your watering isn’t perfectly calibrated. Wild-collected specimens (yamadori) can have extraordinary natural character, making it a favourite among North American collectors.
Notable Cultivars Worth Considering
| Cultivar | Form | Best Application |
|---|---|---|
| C. betulus ‘Fastigiata’ | Upright, columnar | Formal upright styles |
| C. betulus ‘Pendula’ | Weeping | Cascade or semi-cascade |
| C. betulus ‘Columnaris’ | Compact, slow-growing | Smaller pot culture |
Light, Temperature, and Placement
Why Hornbeam Must Live Outdoors
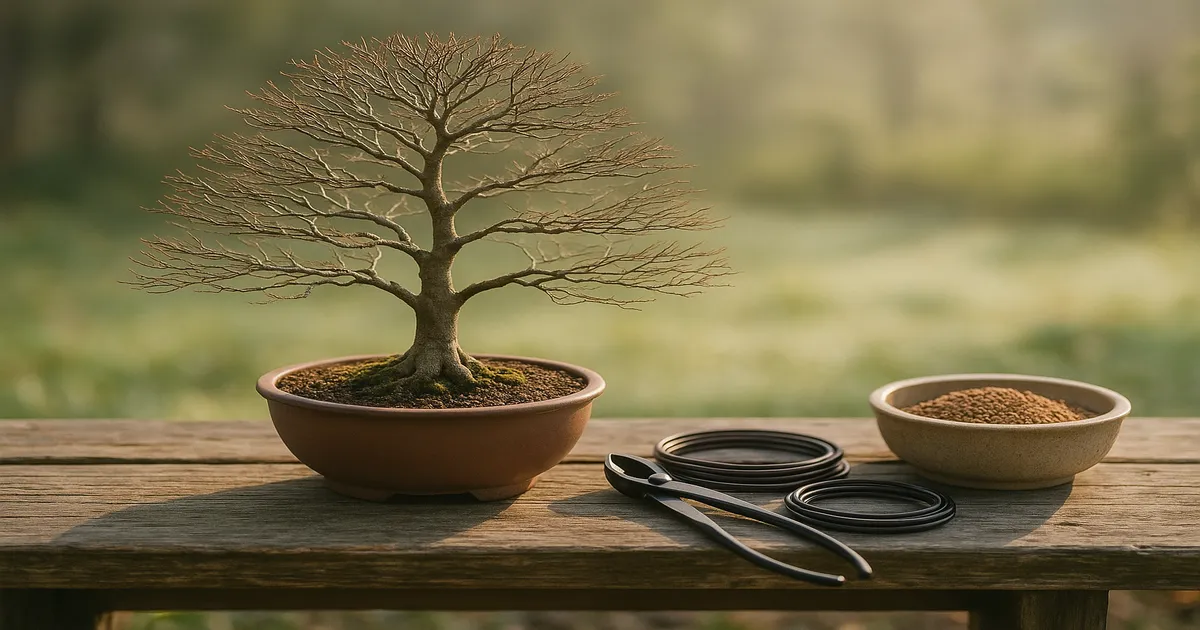
Hornbeam is an outdoor tree, full stop. Without a proper dormancy period each winter, the tree’s energy reserves deplete progressively. Most growers who keep hornbeam indoors see it decline noticeably within the first year and die within two or three. A brief indoor display of one to three days during peak autumn color is fine, but the tree must go straight back outside afterward.
Aim for a minimum of six hours of direct sun daily during the growing season. In cooler climates (Zones 3–6), full sun all day is ideal — it encourages compact growth, short internodes, and strong autumn color. In hotter zones (7–9), morning sun with afternoon shade prevents leaf scorch while still providing enough energy for healthy growth. If you’re seeing long, weak shoots and pale leaves, the tree almost certainly needs more sun.
Winter Dormancy and Cold Protection
Container roots are significantly more frost-vulnerable than roots in the ground, because the pot provides no insulating soil mass. The ideal dormancy window is 25–45°F (-4–7°C). Four practical approaches:
- Cold frame or unheated greenhouse — maintains 28–40°F (-2–4°C) and protects from wind; the best all-round solution
- Pot burial in mulch — sink the pot to its rim in straw or bark mulch; low cost and highly effective
- Unheated shed or garage — acceptable if temperatures stay above 20°F (-7°C); check soil moisture monthly and provide occasional light
- What NOT to do — never bring hornbeam into a heated space above 50°F (10°C) during winter; this breaks dormancy prematurely and exhausts the tree
Also protect from desiccating winter winds, which cause branch dieback even when temperatures are within a safe range.
The Best Soil Mix for Hornbeam in Pots
Standard potting compost retains far too much moisture, compacts over time, and creates the anaerobic conditions that rot hornbeam roots. It might sustain a tree for a season or two, but it’s a slow decline from the start.
Recommended Three-Component Bonsai Mix
| Component | Proportion | Function |
|---|---|---|
| Akadama | 40–50% | Moisture retention, cation exchange, root anchoring |
| Pumice | 25–30% | Drainage, aeration, root oxygenation |
| Lava rock | 20–30% | Long-term structure, prevents compaction |
A 1:1:1 ratio is a practical starting point, then adjust for your climate — more akadama in dry regions, more pumice and lava rock in wet ones. For sourcing, a quality double-fired akadama holds its structure longer than cheaper single-fired alternatives and is worth the extra cost.
If you’re just starting out and can’t source all three components, a 1:1 mix of akadama and coarse perlite works reasonably well — far better than potting compost, even if not optimal.
A few additional details:
- Particle size: 3–6mm for standard-sized trees; 1–3mm for shohin and mame
- pH: Aim for 5.5–6.5 (slightly acidic to neutral)
- Akadama breakdown: Akadama degrades after two to three years, becoming increasingly moisture-retentive. This is one reason repotting on schedule matters — you’re refreshing soil structure, not just managing roots.
Watering Hornbeam in Containers
How Often to Water Through the Seasons
- Spring and summer: Check morning and evening; up to twice daily in hot weather
- Autumn: Every one to two days as growth slows and temperatures drop
- Winter dormancy: Once every one to two weeks — just enough to prevent the soil drying out completely
Water thoroughly when the top half-inch of soil begins to dry. Never let it dry out completely, and never let it sit waterlogged. Water until it flows freely from the drainage holes, which ensures complete saturation and flushes accumulated mineral salts. A fine-rose watering can or a bonsai watering wand delivers a gentle flow that won’t disturb the soil surface. One pass is rarely enough — two slow passes over the pot is a better habit.
Rainwater is the ideal choice. Hard tap water raises soil pH over time, locking out nutrients. If tap water is all you have, let it sit overnight to off-gas chlorine and flush the soil with rainwater occasionally.
Spotting Overwatering vs. Underwatering
| Overwatering | Underwatering |
|---|---|
| Yellowing leaves (inner/lower first) | Leaf edges browning and crisping |
| Soil stays wet for 2–3+ days | Soil shrinking away from pot edges |
| Mushy or blackened roots | Leaves curling inward or looking dull |
| Wilting despite wet soil (root rot) | Pot feels unusually light |
| Algae or moss on soil surface | Premature summer leaf drop |
Wilting with wet soil is the most urgent warning sign — it usually means root rot has set in and the roots can no longer move water into the tree.
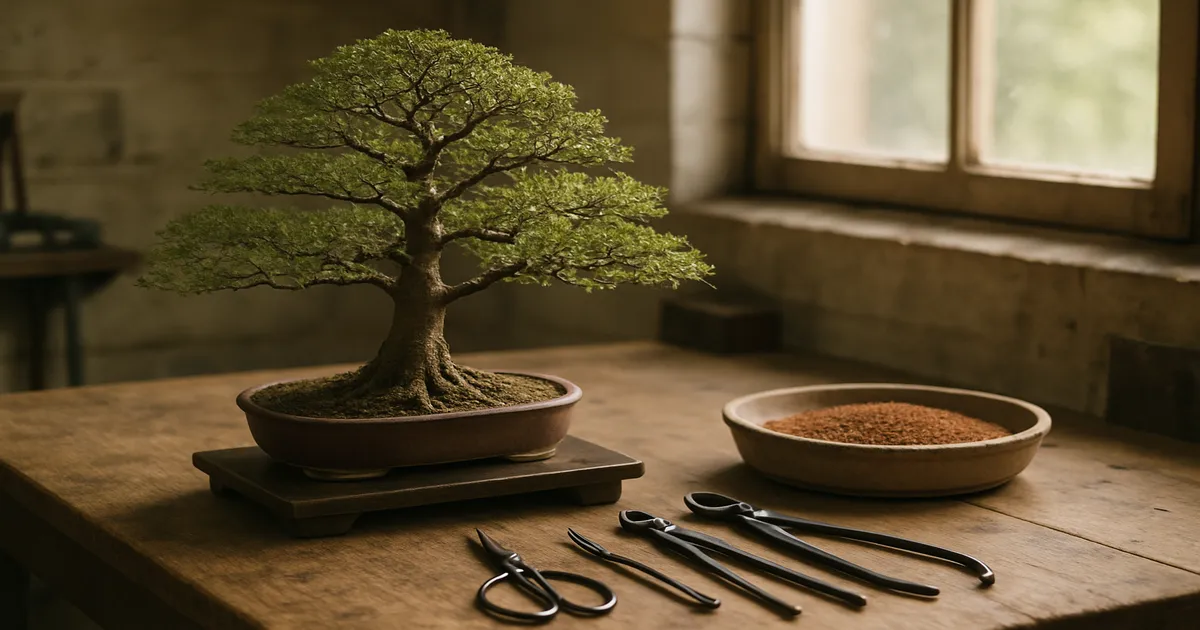
Pruning and Shaping Hornbeam in Pots
Maintenance Pruning: Building Fine Ramification
The goal is to build increasingly fine branching over many growing seasons. Let new shoots extend to four to six leaves, then cut back to one to two leaves. Repeat through the season.
- First cut: Late spring, after the first flush hardens off
- Second cut: Midsummer, after the second flush
- Light tidying: Autumn, after leaf drop — remove crossing or redundant fine twigs
Use sharp bonsai scissors for clean cuts just above a node. Pinching with fingers is less effective on hornbeam than on conifers.
Structural Pruning
Structural decisions — removing whole branches, shortening primary limbs, creating taper — are best made in late winter, just before buds begin to swell. The tree is dormant, the branch structure is fully visible, and the coming spring flush powers wound healing. Immediately after autumn leaf drop is an acceptable alternative.
Apply wound paste to any cut larger than about 5mm in diameter. Concave cutters create slightly recessed wounds that heal flush with the surrounding bark — they’re worth the investment. Expect large wounds to take three to seven years to fully callous over, depending on tree vigor and wound size.
Defoliation: When and How
Full defoliation in early to midsummer (typically June in the Northern Hemisphere) reduces leaf size, improves ramification, and lets light reach inner branches. Only do this on genuinely healthy, vigorous trees — never on a tree repotted the same year or showing any stress. After defoliation, reduce watering slightly and provide some shade for one to two weeks. Partial defoliation — removing only the largest leaves — is a gentler option for trees that are healthy but not at peak vigor.
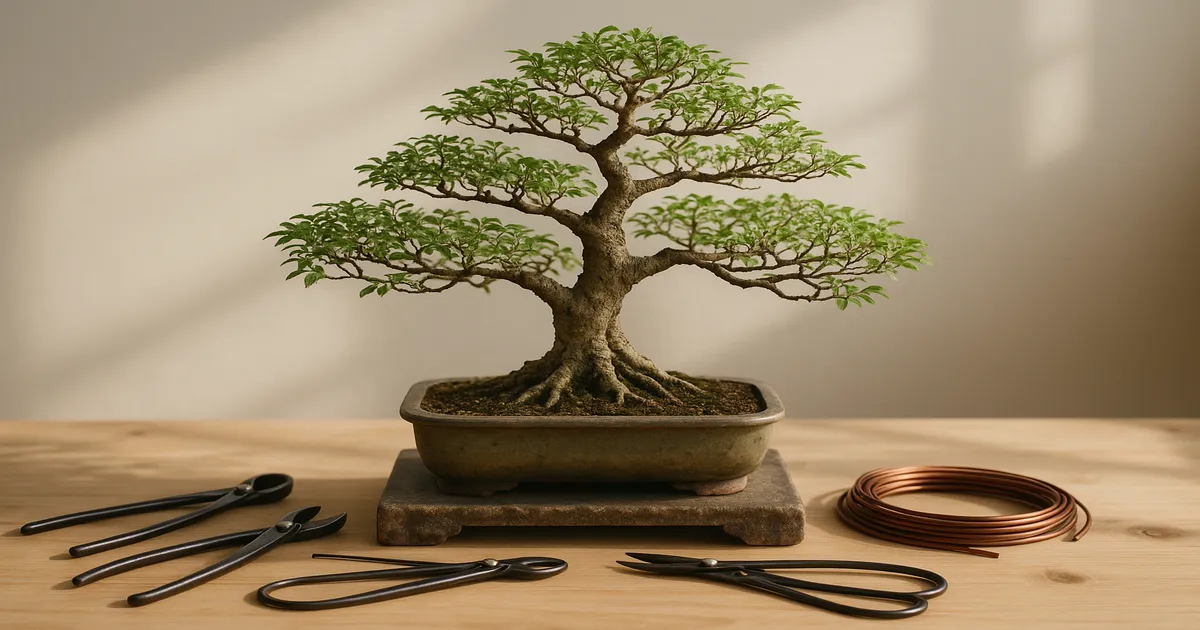
Wiring Hornbeam
Aluminum wire is the right default for hornbeam. It’s gentler on the smooth bark, easier to handle, and forgiving enough for beginners. Copper wire has more holding power and suits heavier branches, but it bites into bark faster — use it with caution.
Wire Gauge by Branch Thickness
| Branch Thickness | Aluminum Gauge | Copper Equivalent |
|---|---|---|
| Under 2mm | 1.0–1.5mm | 0.8–1.0mm |
| 2–4mm | 2.0–2.5mm | 1.5mm |
| 4–7mm | 3.0–3.5mm | 2.0–2.5mm |
| 7–12mm | 4.0–5.0mm | 3.0–3.5mm |
The wire should be roughly one-third the diameter of the branch being wired.
The best wiring window is late autumn through winter, after leaf drop. Bare branches are fully visible and there’s no risk of wire cutting in overnight. Spring wiring is possible but requires close monitoring — during the growth flush, a branch can thicken fast enough to embed wire within days. Always cut wire off in small segments using wire cutters rather than unwinding it, which risks snapping branches and tearing bark. Wire scars on hornbeam’s smooth bark can be permanent, so when in doubt, remove early rather than late.
Repotting Hornbeam in Pots
How Often?
- Young trees (under 10 years in training): Every one to two years
- Maturing trees (10–25 years in training): Every two to three years
- Refined specimens: Every three to five years
Visual cues: roots circling the pot base, roots emerging from drainage holes, or water sitting on the surface for several seconds before draining.
Timing and Technique
Repot in late winter to very early spring, just as buds begin to swell but before they break. The tree is emerging from dormancy and the spring growth surge will power recovery. Don’t wait until leaves have opened.
- Remove the tree carefully from its pot
- Comb out the root mass with a root hook to untangle and expose the roots
- Prune roots by up to one-third, removing circling roots and any that are dead or mushy
- Clean the pot or prepare a new one with drainage mesh and tie-down wires
- Add a base layer of fresh soil mix
- Position the tree and secure with tie-down wire through the drainage holes
- Work fresh soil carefully into the root mass, eliminating air pockets
Post-Repotting Care
Place the tree in a sheltered spot out of direct sun and strong wind for two to three weeks. Water conservatively at first — the reduced root system can’t process the same volume as before. Hold off on fertiliser for four to six weeks, then resume with a balanced feed. Most healthy hornbeams recover without drama.
Troubleshooting Common Problems
Leaf scorch and browning edges — Usually caused by underwatering, excessive afternoon sun in hot climates, or hard water raising soil pH over time. Check watering frequency first, then placement. If you’ve been using hard tap water for a long time, flush the soil with rainwater and consider a pH test.
Weak growth and long internodes — Almost always insufficient light. Move the tree to a sunnier position before assuming a fertiliser problem. Over-fertilising with high-nitrogen feeds can also push soft, elongated growth.
Root rot — If the tree is wilting despite wet soil, act quickly. Remove it from the pot, cut away any roots that are black, mushy, or smell unpleasant, and repot into fresh, well-draining mix. Prevention is far easier than treatment.
Pests and diseases to watch for:
- Aphids — Common on new growth in spring; treat with insecticidal soap or a strong water jet
- Scale insects — Check branch undersides; treat with horticultural oil
- Vine weevil larvae — Live in the soil and eat roots; check the root ball at repotting time and treat with nematodes
- Powdery mildew — White powdery coating on leaves; caused by poor airflow; improve circulation and treat with a sulphur-based fungicide if needed
Frequently Asked Questions
Can hornbeam survive winter in a pot outdoors without any protection? It depends on your climate. In Zones 6 and above, a pot left outdoors in a sheltered spot is usually fine, provided it’s protected from desiccating wind. In Zones 3–5, the root ball can freeze solid for extended periods, which risks killing the tree. A cold frame, mulched burial, or unheated shed is strongly recommended in colder zones.
How long does it take to grow a hornbeam bonsai from a nursery tree? A basic, presentable bonsai from a young nursery tree typically takes five to ten years of consistent training. A refined specimen with fine ramification and good taper takes considerably longer — twenty to thirty years is not unusual. Buying a more developed pre-bonsai or collected specimen shortens that timeline significantly.
Can you grow hornbeam in pots indoors? No — not as a permanent arrangement. Hornbeam is a temperate deciduous tree that requires genuine winter dormancy. Without it, the tree depletes its energy reserves and declines within one to three years. A brief indoor display of a day or two during peak autumn color is harmless, but the tree must return outdoors immediately afterward.
What size pot is best for hornbeam? As a general rule, the pot length should be roughly two-thirds the height of the tree (for upright styles) or two-thirds the width of the canopy (for wider, more horizontal designs). Avoid oversized pots — they hold excess moisture and slow the development of a compact root system. Unglazed stoneware or quality ceramic pots with adequate drainage holes are the best choice.
When should I start fertilising hornbeam in a pot? Begin feeding in early spring as buds swell, using a balanced fertiliser (equal NPK ratio). Switch to a low-nitrogen, high-phosphorus and potassium feed from midsummer onward to harden growth and support root development before winter. Stop feeding entirely once the tree drops its leaves in autumn.