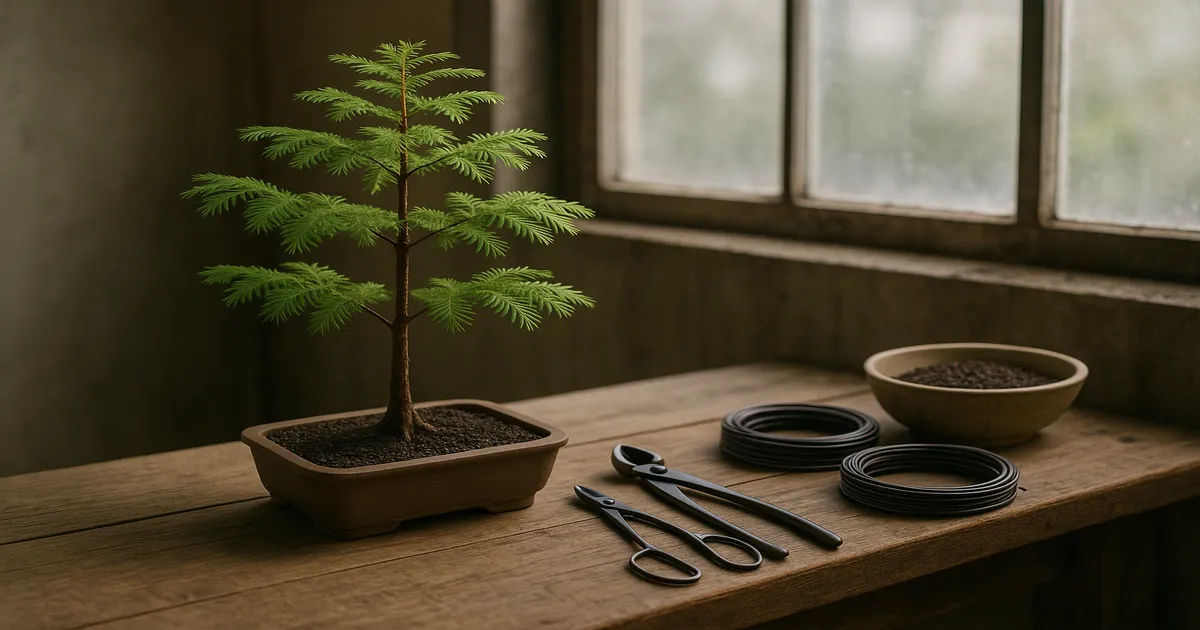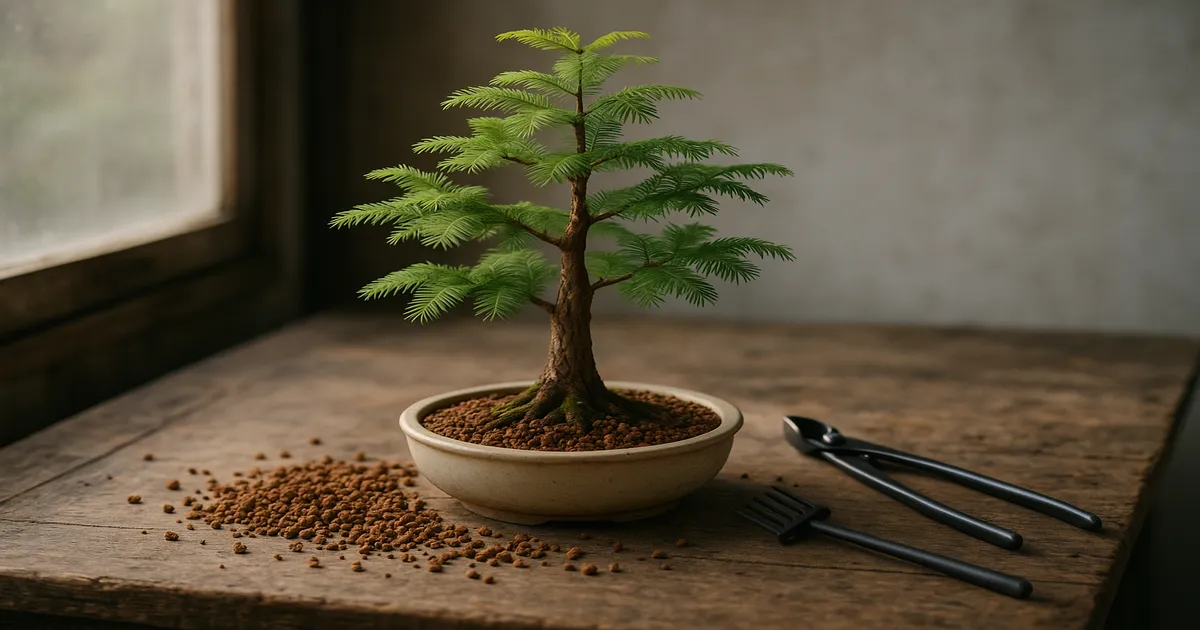
Quick Answer: Repot your dawn redwood bonsai in late winter to early spring, just as the buds begin to visibly swell but before they open. Young trees need repotting every 1–2 years; mature specimens every 2–3 years. Because dawn redwood is one of the fastest-growing conifers in cultivation, roots fill a pot quickly — getting the timing right matters more here than with most other bonsai species.
When to Repot Dawn Redwood Bonsai: The Ideal Window
The sweet spot is that brief period in late winter to early spring when you can see the buds fattening up but they haven’t cracked open yet. At this stage, the tree’s stored energy is mobilizing, wound-healing capacity is ramping up, and new roots will establish quickly once growth kicks in. Miss this window and you’re either working against a dormant tree that heals slowly, or stressing one that has already committed its energy to pushing new leaves.
Repotting frequency by development stage:
- Young trees (under 10 years / early development): Every 1–2 years
- Maturing trees in refinement: Every 2–3 years
- Established, older specimens: Every 3–4 years, or when root-binding signs appear
Dawn redwood’s extraordinary growth rate — genuinely one of the fastest among conifers — means roots fill a container far sooner than they would on a juniper or pine. Don’t let the schedule slide.
Understanding Dawn Redwood: Why Timing Matters
A Living Fossil with Unique Traits
Metasequoia glyptostroboides was known only from fossils until living specimens were discovered in a remote valley in Hubei and Sichuan provinces, China, in 1944–1945. In its native riparian habitat, it grows along stream banks and valley floors in moist, well-drained alluvial soils at elevations of roughly 3,600–4,600 ft (1,100–1,400 m). That origin matters directly for how you manage soil and water in a bonsai container.
Deciduous Habit and What It Means for Repotting
Dawn redwood is one of only a handful of deciduous conifers — alongside bald cypress and larch. Every winter it drops its soft, feathery foliage and gives you an unobstructed view of the branch structure and root surface. More importantly, this creates a clear, predictable repotting window that simply doesn’t exist for evergreen species. The tree’s bare state also means there’s no foliage load to stress during root disturbance.
Fast Growth and Root Development in Bonsai Containers
In-ground specimens can add 3–5 ft (0.9–1.5 m) per year in good conditions. Even in a bonsai pot, that vigor translates to roots that circle, compress, and exhaust their soil long before a slower species would. Dawn redwood also develops a strong taproot tendency and, with age, produces the dramatic flared buttress nebari that bonsai artists prize. Regular repotting — combined with deliberate root work — is how that nebari gets encouraged and refined.
Signs Your Dawn Redwood Bonsai Needs Repotting
Root-Bound Indicators
The clearest signs are physical:
- Roots emerging from drainage holes or circling visibly around the pot base
- The tree sitting noticeably higher than the pot rim as the root mass pushes it upward
- A root mass so dense it lifts cleanly out of the pot as a single solid block
Soil Degradation and Drainage Problems
Akadama — the backbone of most bonsai mixes — breaks down over 2–3 years, losing its granular structure and drainage properties. When water runs straight through without being absorbed, or sits on the surface before slowly soaking in, the soil structure has likely collapsed. This happens on a schedule regardless of how the roots look, which is one reason periodic repotting is non-negotiable even on trees that seem to be doing fine.
Growth and Vigor Signals
If your dawn redwood is getting adequate water and fertilizer but producing noticeably shorter shoot extensions than in previous years — or if foliage is yellowing in a way that doesn’t match the normal autumn color sequence — the roots are likely running out of room or oxygen. These are the tree’s way of telling you it’s been too long.
Best Time of Year to Repot Dawn Redwood Bonsai
Late Winter to Early Spring: The Primary Window
Repot when buds are swelling but not yet open. The tree is waking up, energy is moving toward the growing tips, and the vascular system is primed to support rapid wound healing and new root generation. The bare structure makes the work easy and inspection thorough.
Reading Bud Swell: The Key Visual Cue
Don’t rely solely on the calendar — watch the tree. Dawn redwood buds start as tight, dark, almost scale-like points. As the repotting window opens, they plump up noticeably, often taking on a reddish or greenish tinge, with the faintest hint of green at the tip. That’s your signal. Once the bud has cracked and green tissue is visibly extending, you’ve entered riskier territory.
Why Autumn and Midsummer Repotting Should Be Avoided
Autumn repotting is genuinely problematic. The tree’s energy reserves are depleted after a full growing season, and there isn’t enough time for new roots to establish before dormancy sets in. You’re essentially sending a stressed tree into winter with a compromised root system.
Midsummer repotting compounds transplant shock with heat stress. The tree is in full metabolic activity, transpiring heavily through its foliage, and a reduced root mass simply can’t keep up with demand. Save major root work for the proper window.
Climate and USDA Zone Adjustments
Use these as starting points, then let bud swell be the final arbiter:
- Zones 4–5: Late March to mid-April
- Zones 6–7: Early to mid-March
- Zones 8–9: Late February to early March
A warm spell in late winter can accelerate bud break by two to three weeks in any zone. Check your tree every few days once temperatures start climbing consistently above freezing.
Choosing the Right Soil Mix
Why Dawn Redwood Needs a Free-Draining Inorganic Mix
Dawn redwood’s riparian origins create what looks like a contradiction: it needs consistent moisture, but its roots suffocate quickly in waterlogged, anaerobic conditions. Standard potting mix and garden soil compact over time, retain too much water, and cut off oxygen to the root zone. An inorganic or primarily inorganic mix threads that needle — holding enough moisture between waterings while draining freely and maintaining air pockets around the roots.
Recommended Soil Ratios
The mix that works well across most of the temperate growing range:
Particle size should be 3–5 mm for most trees; slightly larger (up to 6 mm) for big, mature specimens. Target a soil pH of 5.5–6.5. You can add up to 10% composted pine bark for a touch more moisture retention without sacrificing drainage.
Climate adjustments:
- Hot, dry climates (Zones 8–9): 50% akadama, 30% pumice, 20% lava rock
- Humid or high-rainfall areas: 30% akadama, 40% pumice, 30% lava rock
Avoid standard potting mix, garden soil, and peat moss as primary components — all three compact over time, hold excessive moisture, and deprive roots of oxygen.
Step-by-Step Repotting Process
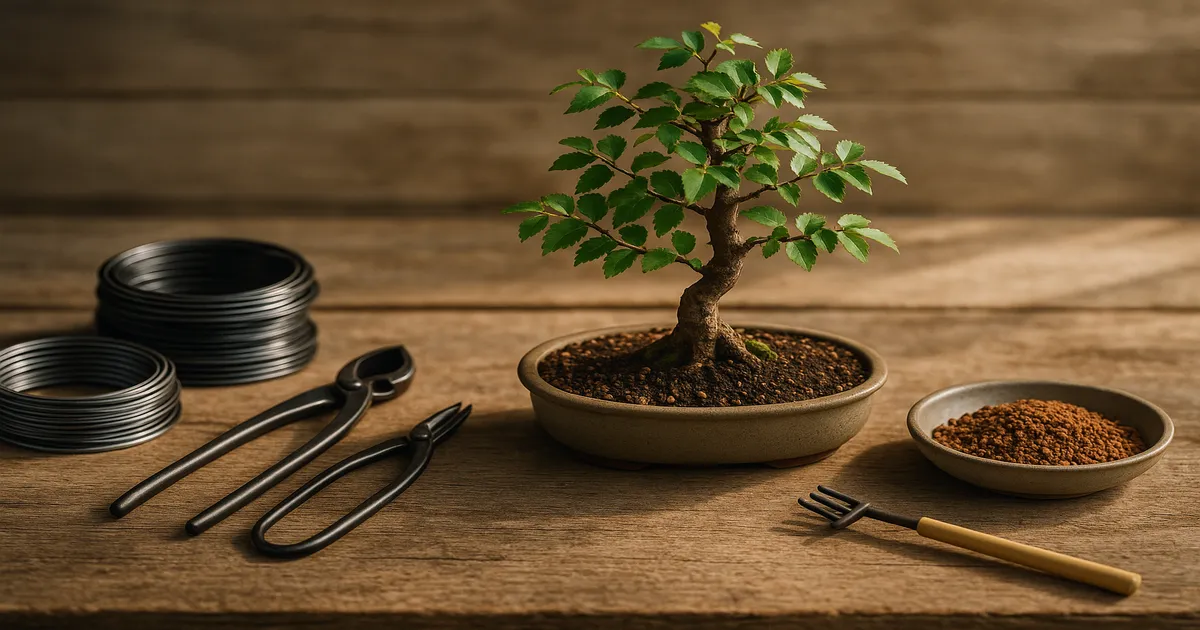
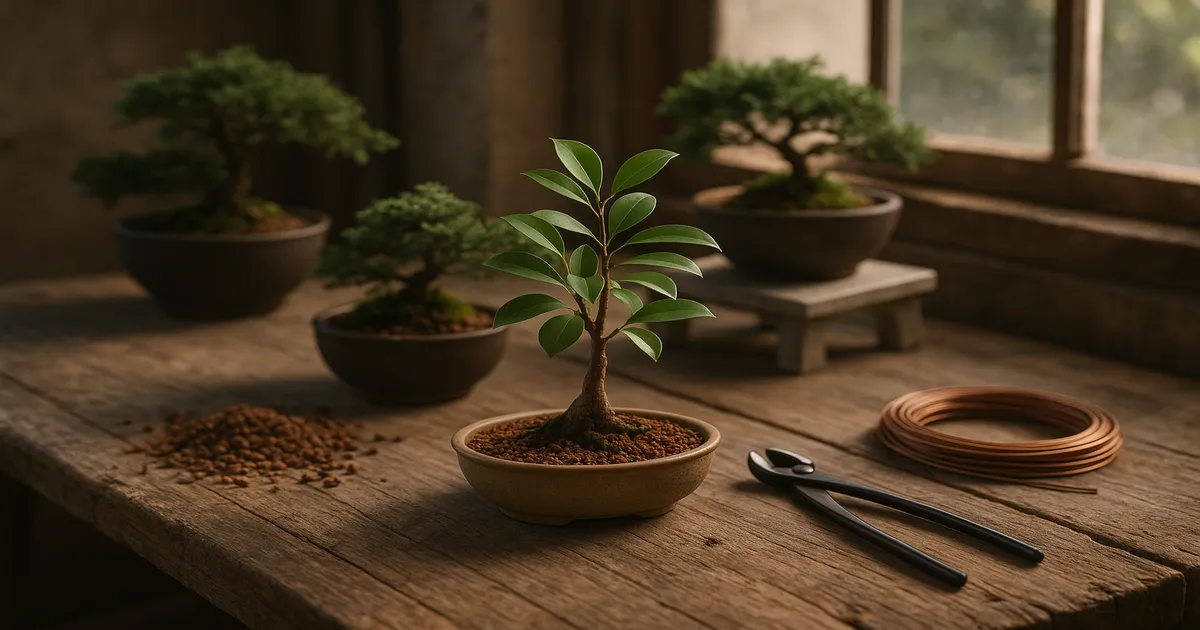
Tools to Prepare in Advance
Gather everything before you lift the tree:
- Root hook and chopstick for loosening roots
- Sharp scissors or root pruning shears for clean cuts
- Concave cutters for any larger structural roots
- Wire cutters and tie-down wire
- Mesh squares for drainage holes
- Fresh soil mix, prepared and ready
- A clean pot (scrubbed and dried if reusing)
Removing the Tree and Inspecting the Root Mass
Run a root hook or thin spatula around the inside edge of the pot to break the seal, then ease the tree out. Work gently — you’re not in a hurry. Once out, use the root hook and chopstick to comb through the root mass from the outside in, removing old soil and untangling circling roots. Healthy roots are white to light tan and firm. Dark, soft, or mushy roots are dead or rotting and should be removed entirely.
Root Pruning: How Much to Remove Safely
- Healthy, vigorous young trees: Up to one-third of the total root mass
- Weaker trees or older specimens: One-quarter or less
- Always use sharp scissors — a clean cut heals faster and resists infection far better than a torn or crushed end
Focus on removing circling roots, downward-growing roots, and the thickest, oldest roots in favor of finer lateral growth. This encourages the dense, surface-spreading nebari that makes dawn redwood bonsai so visually striking.
Positioning and Potting
Thread tie-down wire through the drainage holes before adding any soil. Place a thin base layer of fresh mix, position the tree slightly off-center for most styles, then work soil in around the roots with a chopstick. Patience here pays off — eliminating air pockets is critical, since unfilled voids cause roots to desiccate and die. Aim for a slight soil dome rather than a flat surface to encourage drainage away from the trunk base.
Aftercare in the First Weeks
Water thoroughly and immediately after potting — water until it runs freely and clearly from the drainage holes. Then place the tree somewhere sheltered: bright light but no harsh afternoon sun, protected from drying winds. Keep it there for 2–4 weeks. Withhold fertilizer for 4–6 weeks to avoid burning the tender new root tips that are just beginning to form.
Watering, Feeding, and Light After Repotting
The tree’s reduced root mass temporarily impairs its water uptake. Keep the soil consistently moist — press a finger into the top ½ inch (1.3 cm) of soil and water when that layer begins to dry. Don’t let it dry out completely, but don’t keep it saturated either. Waterlogged soil at this stage invites exactly the kind of root rot you just pruned away.
Hold off on fertilizer for 4–6 weeks. Once you see new growth actively extending — not just bud swell, but actual shoot extension — resume feeding with a balanced, low-nitrogen formula rather than jumping straight to a high-nitrogen growth booster.
For the first 2–4 weeks, bright indirect light or dappled shade is ideal. Harsh afternoon sun combined with a compromised root system is a recipe for foliage scorch and dieback. Once new growth is clearly underway, transition the tree back to its normal position. Dawn redwood wants 6+ hours of direct sun daily during the growing season — that full exposure just needs to wait until the roots are ready to support it.
Repotting Mistakes to Avoid
Repotting too late in spring. Once buds have fully opened and new shoots are extending, the tree has already committed significant energy to that growth push. Repotting now forces it to support both new foliage and root recovery simultaneously. You’ll likely see dieback or reduced vigor. If you miss the window, wait until the following late winter.
Over-pruning the root system. Removing more than one-third of the root mass in a single session is stressful for any bonsai, but especially risky on older or weaker specimens. If a tree is severely root-bound, be conservative on the first repotting — reduce by a quarter, improve the soil, and do more thorough work the following cycle.
Using the wrong soil and pot combination. An organic-heavy mix in a pot with inadequate drainage is probably the single most common cause of dawn redwood decline in bonsai cultivation. The pot must have sufficient drainage holes, and the soil must drain freely. A beautiful pot that holds water is still the wrong pot.
Skipping aftercare and returning to full sun immediately. A freshly repotted tree in full sun and wind is fighting dehydration with a root system that can’t yet compensate. Two to four weeks of sheltered recovery is a small investment for a much smoother transition.
Frequently Asked Questions About Repotting Dawn Redwood Bonsai
How often should you repot a dawn redwood bonsai?
Young, vigorously growing trees typically need repotting every 1–2 years. Maturing trees in refinement can generally go 2–3 years between repottings, and older established specimens may stretch to 3–4 years. Always let the tree’s actual condition — root density, soil drainage, and overall vigor — guide the schedule rather than sticking rigidly to a fixed interval.
Can you repot a dawn redwood bonsai in autumn?
No. By late summer and autumn, the tree’s energy reserves are depleted after a full season of growth, and there isn’t enough time for new roots to establish before dormancy. Repotting at this stage sends a stressed tree into winter with a weakened root system, increasing the risk of winter damage or spring decline. Stick to the late winter to early spring window.
What soil mix is best for repotting dawn redwood bonsai?
A mix of 40% akadama, 40% pumice, and 20% lava rock works well for most climates, with particles sized 3–5 mm. In hot, dry climates increase akadama to 50% for better moisture retention; in humid or high-rainfall areas, drop akadama to 30% and increase lava rock to 30% for improved drainage. Avoid standard potting mix, garden soil, or peat-heavy mixes — they compact over time and deprive roots of oxygen.
How much of the roots can you safely remove when repotting?
On a healthy, vigorous tree, removing up to one-third of the root mass is generally safe. For older, weaker, or previously stressed specimens, limit removal to one-quarter or less. Always use sharp scissors to make clean cuts — torn or crushed root ends heal more slowly and are more susceptible to rot.
What are the signs that a dawn redwood bonsai needs repotting?
The most obvious signs are roots emerging from drainage holes, roots circling the pot base, or the tree sitting noticeably higher in the pot. Less visible but equally important: water running straight through without being absorbed (indicating soil breakdown), reduced shoot extension despite adequate feeding, and off-season foliage yellowing. If akadama has been in the pot for more than 2–3 years, repot even if the roots look manageable — the soil structure will have degraded.