Quick Answer: To prune wisteria in winter, work between mid-January and early March (Zones 6–8) while the plant is fully dormant and leafless. Cut long extension shoots back to 2–4 buds, and carefully preserve the short, stubby flowering spurs on older wood — those spurs are where every flower comes from. Pair this winter structural session with summer maintenance pruning and you’ll have reliable, spectacular blooms every spring.
How to Prune Wisteria in Winter: Why Timing Matters
Without leaves in the way, you can see exactly what you’re working with — every branch junction, every crossing limb, every flowering spur. That clarity alone makes winter the superior pruning window. There’s a practical health benefit too: cuts made on dormant wood face far less disease pressure than wounds opened during the humid, biologically active growing season.
Removing vigorous extension shoots in winter also reduces the energy demands the tree places on itself come spring. Instead of feeding metres of whippy vegetative growth, the tree channels resources into the flowering spurs you’ve carefully left in place — the result is stronger, more reliable bloom production.
When Exactly to Prune: Timing by USDA Zone
The golden rule is to prune before buds begin to swell. Once the buds are moving, you risk cutting off flower buds and stressing the tree at exactly the wrong moment.
| USDA Zone | Prune Between |
|---|---|
| 4–5 | Late February – March |
| 6–8 | Mid-January – early March |
| 9+ | December – January |
Understanding Wisteria’s Flowering Anatomy
This is the section that separates gardeners who get flowers from those who don’t. Read it carefully before touching your pruning tools.
Flowering Spurs vs. Extension Shoots
Flowering spurs are short, stubby, almost knobby lateral growths on two-year-old and older wood. Their buds are fat, rounded, and often clustered — plump and promising even in winter. Extension shoots are the long, whippy stems that can add several feet in a single season. Their buds are pointed and elongated, and the shoots themselves feel thin and flexible.
Once you’ve seen both side by side, you won’t confuse them again. The spur looks like it has something to say; the extension shoot looks like it’s going somewhere in a hurry.
Flowers form exclusively on spurs — never directly on extension shoots. Those spurs build up gradually on older, thicker wood over multiple seasons, which is why an established wisteria with a well-developed spur system blooms so much more reliably than a young one.
Why Removing the Wrong Growth Means No Flowers
Accidentally cutting a spur means that piece of wood produces no flowers this season — there’s no correcting it mid-winter. This is the single most common reason a wisteria fails to bloom after pruning. Keep the spur-versus-shoot distinction front of mind with every cut you make. When in doubt, leave it alone.
Step-by-Step Winter Pruning Process
Tools You Need
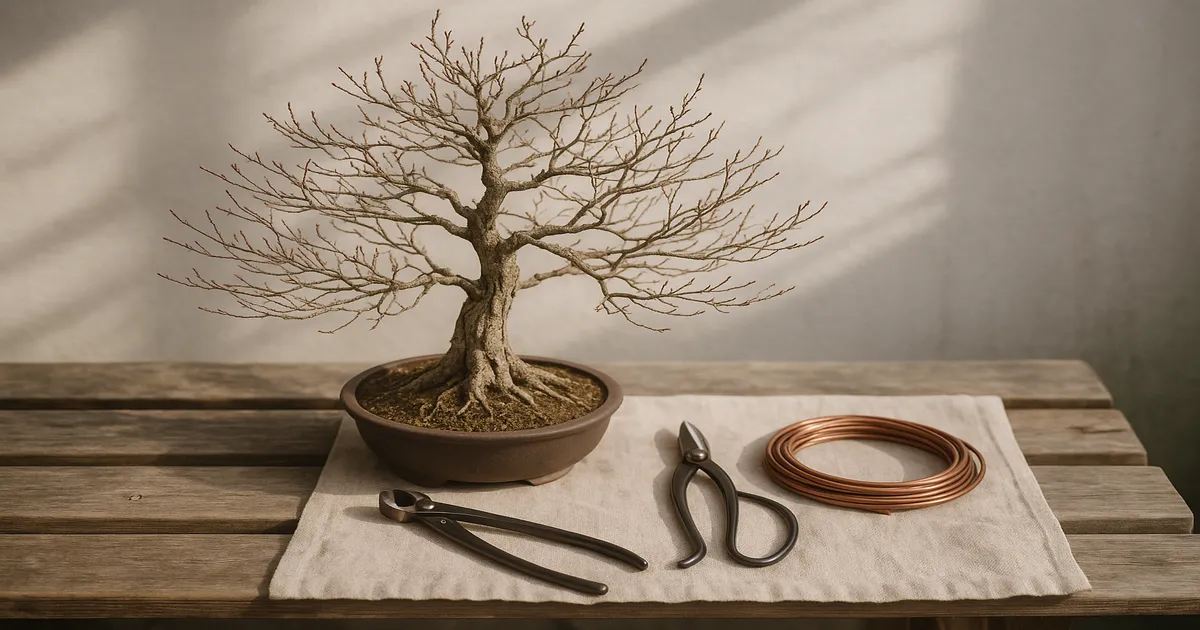
- Concave branch cutters for removing branches — the slightly hollowed cut calluses flush with surrounding bark
- Sharp scissors or knob cutters for fine work around spurs
- Wire cutters if you’re adjusting wiring at the same session
- 70%+ isopropyl alcohol to sterilise tools before you start and between trees
Dull tools crush tissue rather than cutting it cleanly, and crushed cuts callus slowly and invite disease. Sharpen or replace blades before you begin.
Step 1: Inspect Before You Cut
Walk around the tree and take a full minute to study it before picking up a tool. Locate your primary branches, find where the flowering spurs are concentrated, and note any obvious problems — dead wood, crossing branches, congested junctions. A clear mental map prevents impulsive cuts you’ll regret.
Step 2: Remove Dead Wood and Crossing Branches
Dead wood is easy to spot: it’s brittle when flexed, and scratching the surface reveals no green cambium underneath — just dry, brown tissue. Cut cleanly back to living wood. For crossing branches, remove whichever is less useful to the design, favouring branches that grow outward with natural movement.
Step 3: Cut Extension Shoots Back to 2–4 Buds
This is the core winter task. Count two to four buds from the base of each extension shoot and cut just beyond the outermost bud at a slight angle. These short stubs will either push new growth in spring or, over time, develop into flowering spurs — both outcomes are useful.
Step 4: Thin Crowded Branch Junctions
Where multiple shoots emerge from the same point, reduce to two or three well-spaced branches. More than that creates congestion, poor airflow, and a structurally weak junction. Choose branches with the best angles and natural taper, and remove the rest cleanly.
Step 5: Shorten Branches to Maintain Proportion
Step back and assess the overall silhouette. Shorten any branches that break the intended outline, cutting just beyond an outward-facing bud. This keeps the design tight and encourages growth in the right direction.
Step 6: Seal Larger Cuts
Apply wound sealant to any cut larger than about 5 mm in diameter. A purpose-made cut paste applied immediately after cutting reduces desiccation and slows pathogen entry. Avoid petroleum-based pruning paints — they can inhibit callus formation rather than support it. Wisteria calluses at a moderate pace, so larger cuts may take two to three growing seasons to close fully.
Summer Maintenance Pruning: The Other Half of the System
Winter pruning alone won’t keep a wisteria blooming reliably. Without summer follow-through, the tree simply replaces the extension shoots you removed and the spur system never develops properly. Think of it as a two-season contract: winter handles structure, summer builds the spurs.
From June through August, cut new extension shoots back to two to three leaves from their base every four to six weeks as they emerge. This repeated shortening encourages the remaining stub to develop into a flowering spur over time. Don’t remove every extension shoot — keep a few on branches that need to thicken, and let those grow on longer before cutting.
Once flowering finishes, remove spent racemes promptly. Left in place, they develop into heavy seed pods that drain significant energy from the tree. Snip them off cleanly at the base and redirect that energy back into spur and branch development.
Wiring Wisteria After Winter Pruning
Late winter is the ideal wiring window. Leafless branches are fully visible, and the slower dormant growth rate means wire won’t bite in as quickly as it would in spring. Combine wiring with your structural pruning session to avoid handling the tree twice.
Wire gauge by branch size:
- Primary branches: 3–4 mm aluminium
- Secondary branches: 1.5–2.5 mm aluminium
- Fine tertiary branches: 0.8–1.5 mm aluminium
Aluminium wire is the right choice for most practitioners — it’s forgiving and easy to remove without damaging bark. Wrap at a 45–60° angle in the direction the branch will be bent, and use the double-branch method to give the wire a solid anchor. The wire should be snug but not biting in.
Wisteria is a fast grower. During the growing season, wire can bite into bark within four to eight weeks — check every two to three weeks without fail. The moment wire begins to cut into bark, remove it. Wire scars on wisteria can be permanent. Always cut wire off in multiple places with wire cutters; never unwind it, as the motion can snap branches.
Protecting Wisteria Bonsai Through Winter
An in-ground wisteria has its roots insulated by a large volume of soil. A bonsai container offers almost no buffer against freeze-thaw cycles, which can damage or kill roots even when the above-ground structure survives fine.
When nighttime temperatures consistently fall below 15–20°F (-9 to -7°C), move the tree to protection:
- Unheated garage or shed — ideal; keeps the tree between 25–40°F (-4 to 4°C), dormant but not frozen solid
- Cold frame — provides wind protection and moderates temperature swings without breaking dormancy
- Pot mulching or burial — surround or bury the container in insulating mulch; a low-cost, effective option
Avoid any heated space where temperatures exceed 45°F (7°C) for extended periods. Premature dormancy break means weak spring growth and lost flowers.
Water every 7–14 days in winter — just enough to prevent the root ball from desiccating completely. Bone-dry roots in a cold garage will die, but the roots are not actively growing and need very little moisture. Check soil moisture before watering rather than sticking to a rigid schedule.
Wisteria also requires six to eight weeks of chilling at temperatures consistently below 45°F (7°C) to set flower buds properly. Skipping dormancy — through heated storage or an unusually warm winter — is a reliable way to get a spring full of leaves and no flowers at all.
A well-draining bonsai substrate helps enormously here. A mix of approximately 60% akadama, 30% pumice, and 10% fine grit keeps roots healthy through the wet, cold months without waterlogging.
Common Winter Pruning Mistakes
Cutting off flowering spurs by mistake. Entirely preventable with careful identification before you start. If you’re unsure whether a growth is a spur or an extension shoot, leave it. You can always remove it later; you can’t put it back.
Pruning too late when buds are already swelling. You’re past the ideal window. Do minimal tidying and wait for summer rather than risk removing developing flower buds.
Over-pruning in one session. Removing more than about a third of the canopy at once stresses the tree and triggers a compensatory flush of vigorous vegetative growth — the opposite of what you want. If significant restructuring is needed, spread the work over two or three seasons.
Using dull or unsterilised tools. Dull blades crush rather than cut, leaving ragged wound edges that callus slowly and are more vulnerable to fungal infection. Unsterilised tools can carry pathogens between trees. Both problems are easily solved.
Skipping summer pruning. Winter pruning sets the structure; summer pruning builds the spur system. Commit to both sessions and the difference in bloom quality will be immediate.
Frequently Asked Questions
How do you prune wisteria in the winter without losing the flowers?
Preserve the flowering spurs. Flower buds form on short, stubby spurs on older wood — not on the long extension shoots you’re removing. Cut extension shoots back to 2–4 buds, work carefully around the fat, rounded spur buds, and your spring display will be unaffected.
How far back should you cut wisteria in winter?
Cut extension shoots back to 2–4 buds from their base. This controls the tree’s vigour and encourages spur development without stressing the plant. Never cut back into the main branch structure unless you’re removing a branch entirely for design reasons.
How do you tell the difference between a flower bud and a leaf bud on wisteria?
Flower buds are fat, rounded, and plump, sitting on short stubby spur wood. Leaf buds are pointed and elongated, found on long, whippy extension shoots. In winter, once you’re looking for this distinction, it becomes quite obvious — the flower bud looks almost swollen compared to the slim, tapered leaf bud.
What happens if you prune wisteria at the wrong time of year?
Pruning after buds have begun to swell risks removing developing flower buds and results in a flowerless season. Heavy pruning during active summer growth can also trigger excessive vegetative regrowth. Stick to the two-season system — structural work in winter, shoot management in summer — and you’ll avoid most timing problems.
Should you seal pruning cuts on wisteria bonsai?
Yes, for any cut larger than approximately 5 mm. Apply a purpose-made cut paste immediately after cutting to reduce desiccation and slow pathogen entry. Avoid petroleum-based pruning paints, which can impede callus formation. Smaller cuts — fine branch tips and extension shoot stubs — generally heal well without sealant.